

No-Counting Foundation: Foundation Stitches Explained
I hate – and I mean HATE – counting a long foundation chain. Quite frankly, I cannot keep track of all those numbers!! I have a creative mind that battles the mathematics behind crochet design, so like any self-respecting lazy girl, I have devised the “No-Counting” Foundation Chain. Yes. You heard me – NO COUNTING *insert applause here*.
Now, you experienced (or less experienced) crocheters out there might be shaking your head at me. Don’t I know? Crochet design is built on math! Without the right number of foundation chains, I will never get the right size or the right stitch repeat. I’m doomed to fail from the very beginning of my crochet project.
Aha! But am I?? Yes, the “No-Counting” Foundation Chain is perfect for crafters like me who struggle to count to 379 without losing their place. I mean, seriously. I’ll count that chain six times and get a different number each and every time!! With this crochet technique, I don’t have to worry about losing my count – because I’m not counting to begin with!!!
I see you. Shaking your head still. Girl, I KNOW foundation chains are a thing of the past and we all do the foundation double crochet or foundation single crochet or whatever the pattern calls for. I know. But I stick to my old-fashioned foundation chain – because I DON’T HAVE TO COUNT IT. Mind blown yet? Keep reading and I’ll share all my foundation chain secrets - from how to have consistent sized stitches, where to place row one in the chain, and – most importantly – how to NEVER COUNT IT again. Well, mostly. There are exceptions, of course.
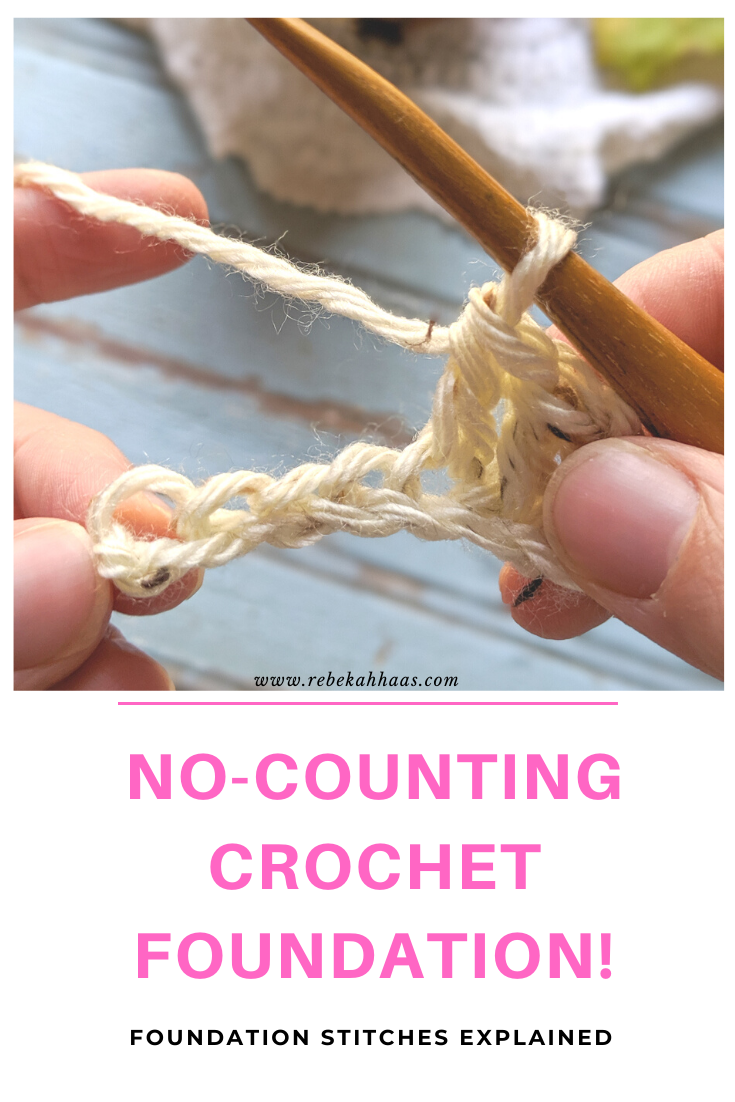
Like this? Save it to your favorite Pinterest board for later or share with a friend!
And while you are there, follow me on Pinterest!
The No-Counting Foundation Crochet Technique Explained
This post contains affiliate links. I receive a small commission from your purchase through these links at no additional cost to you. See my Terms of Use for more details.
That chain stitch, though…
The chain stitch is the very foundation of crochet. If you have crocheted for any length of time, you have figured out that every single patterns requires at least one chain – in fact, you could call the chain stitch the foundation of our craft (see what I did there?). The foundation chain can be quite a struggle for some people – in fact, I considered it the most annoying part of crocheting for years - up until quite recently, in fact. I struggled to work row one into my chain, each stitch taking an agonizing amount of time. I would repeat to myself over and over – the project will move faster once I get past row one!
Turns out, I’m not the only one who hates the foundation chain I’ve also learned that these struggles are quite common among the crochet community. I cannot tell you how often I have see these questions in crochet forums: HOW do I keep my foundation chain loose? WHERE do I place the stitch into the chain? WHY is my first row curling? And even, AM I a failure? Will I ever be successful?
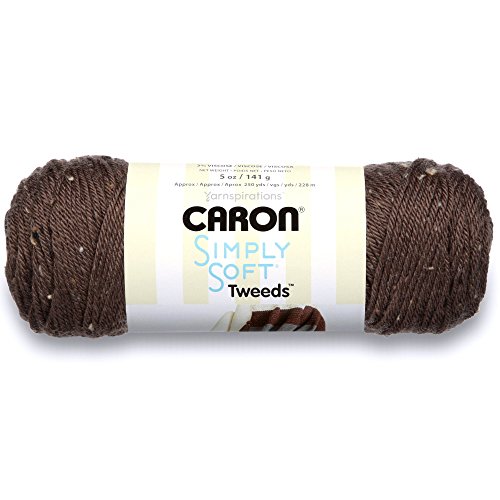
My fellow hook wielding friend, I’ve got your back and the answer to these questions! First, a quick look at the materials I’m using for this demonstration:
I’m using Caron Simply Soft Tweeds and a G/5 mm hook. Each can be purchased on Amazon or at a local craft store.
Your Questions Answered.
How do I keep the chain loose?
Well, don’t pull it tight! I used to pull my chains quite tight after each stitch, because I hated the look of loose, sloppy chains. Turns out, they need to be quite loose for them to serve as a good foundation for the crochet blanket or project. It took some practice and focus, but eventually I was able to chain consistently and loosely.
If you are still struggling to keep your foundation chain loose and easy to work in, consider switching for a bigger hook. Use one or two hook sizes larger than the one the pattern calls for to make the foundation chain. Just remember to switch back to the appropriate hook for row one!
Where in the chain do I put the stitches for row one?
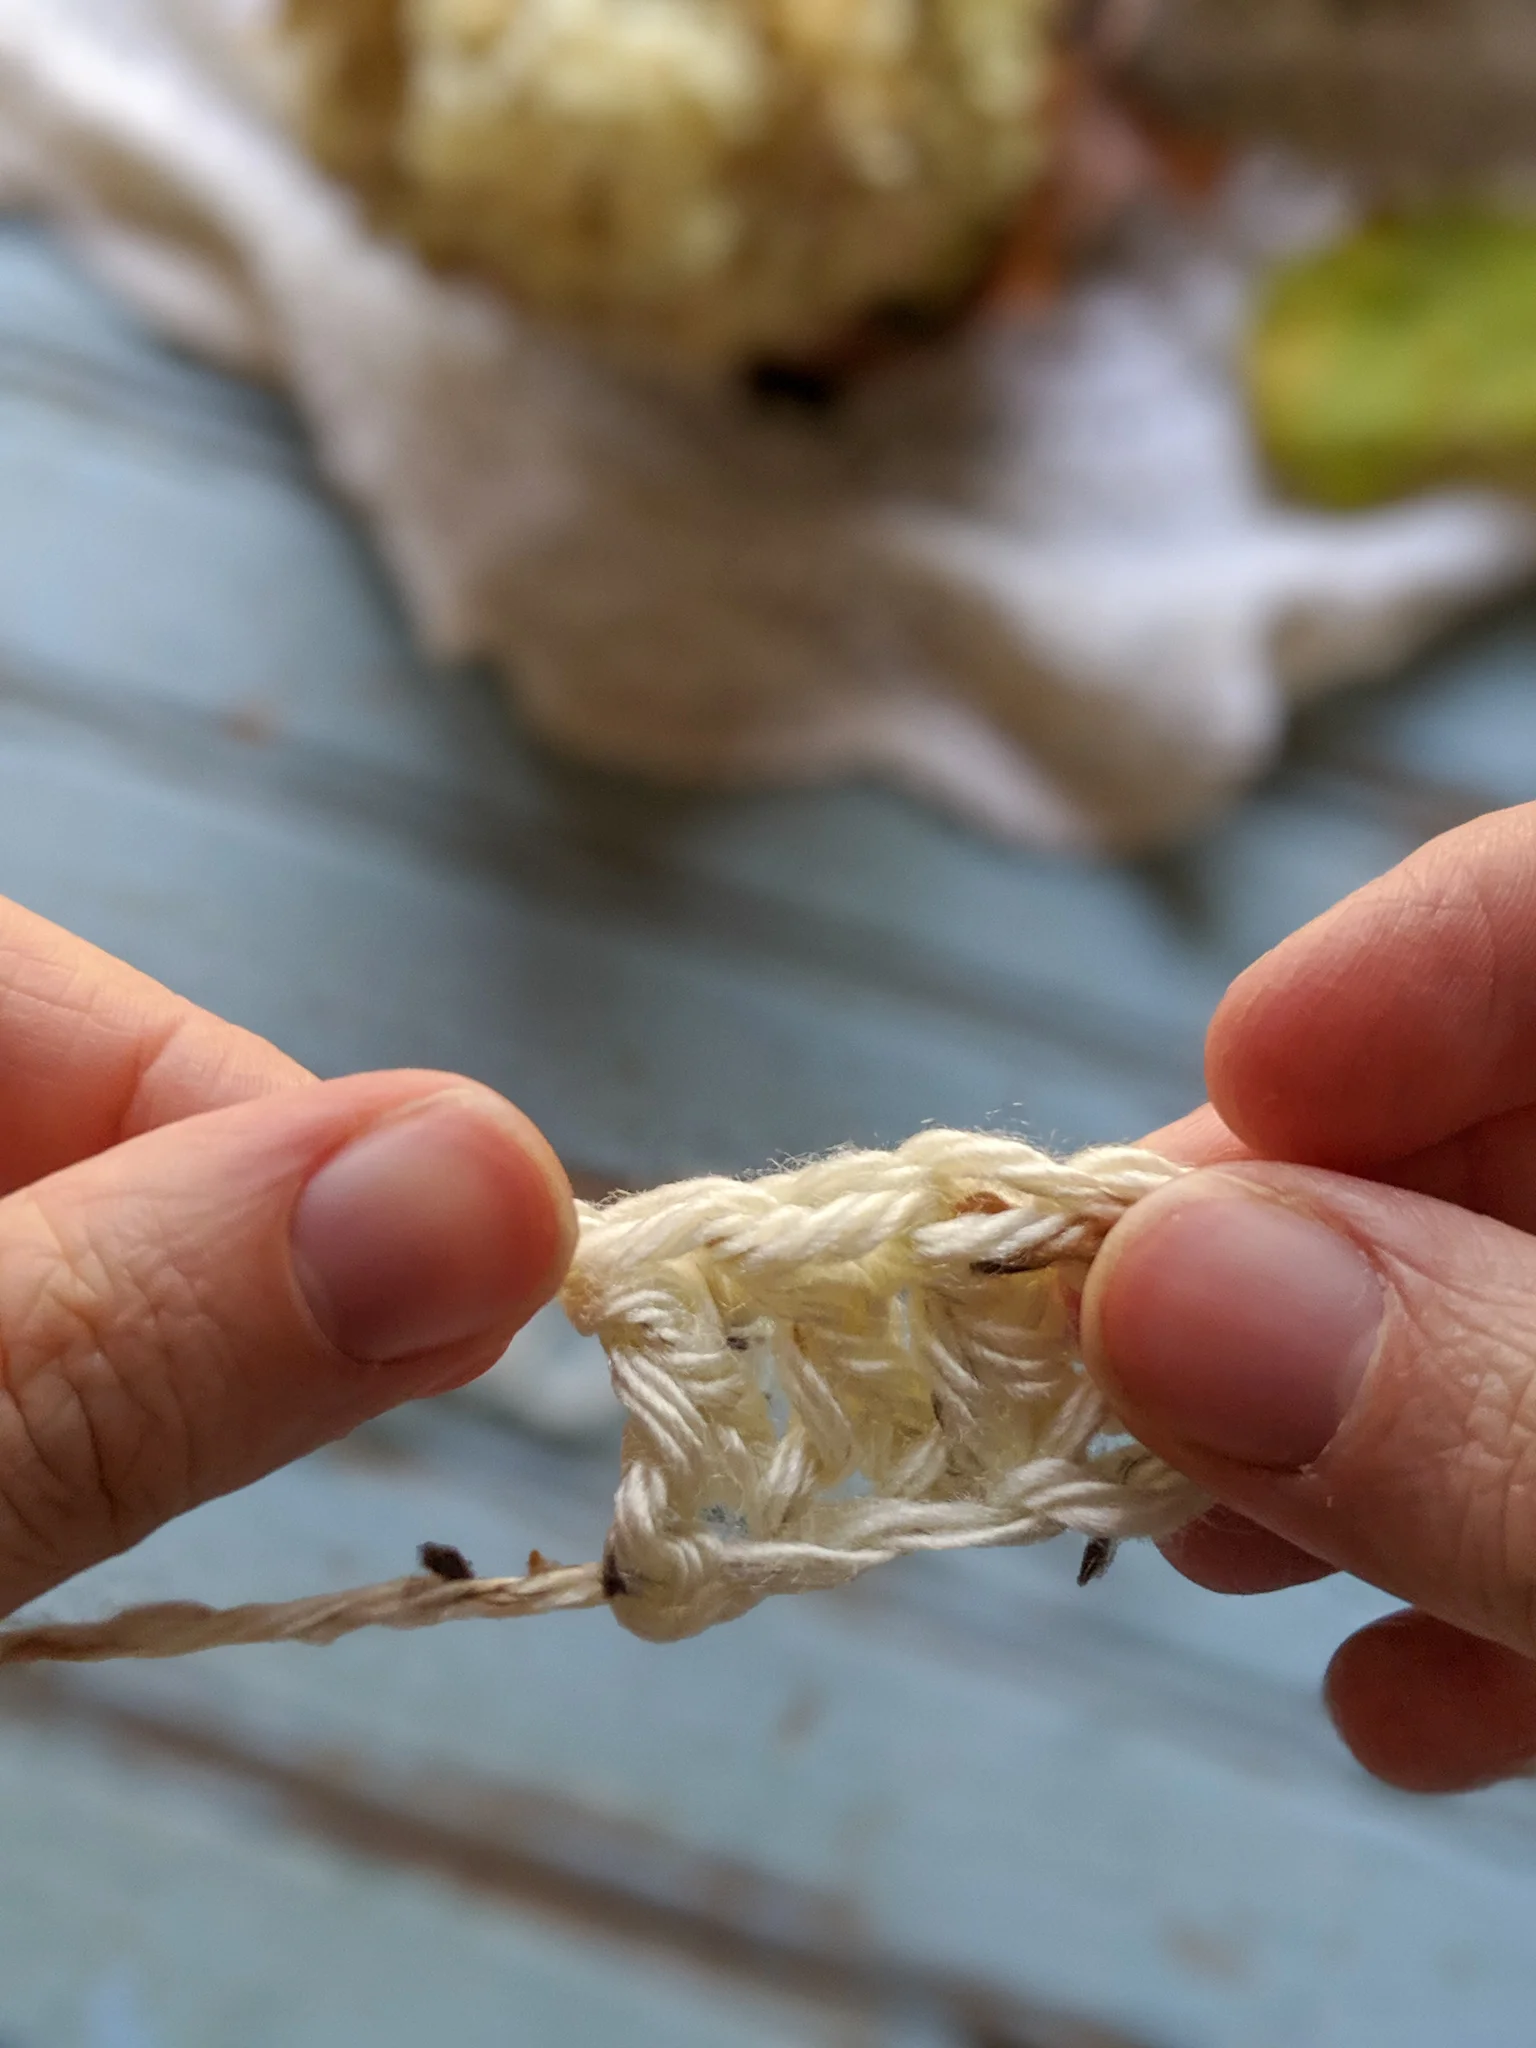
I used to try to put each stitch in the two top loops of the chain stitch, much like I would work through both loops in a double crochet or single crochet. As it turns out, that is definitely the hard way! Now I simply place each stitch in the back loops only of my chains, since this leave more room to put my hook through the chain stitch.
Also, working in the back loop only of the foundation chain creates an easy place to stitch into when you are ready to add an edging to your finished blanket. I often struggled to squeeze my hook into just the back bump of the chain when I added the edging, because I used up almost all of the chain by working into both loops.
Not only does working in the back loop only leave you more room to get your hook through the chain stitch, it also sets you up nicely to have an even, easily stitched border.

Crochet in back loop only of chain stitch
Why is my first row curling?
Another issue that many – if not all – crocheters have faced is the dreaded first row curl. Just kidding. It’s not dreaded. Your first row will curl if the stitches of row one are wider than your chain stitches, even by a little bit. You can either frog the entire thing and practice making a bigger chain, or you can take the easy approach and ignore it. As you continue to add rows to your project, the curl will straighten itself out as the foundation stitches relax. By the end of the project, the curl will have completely disappeared.
Am I a failure? Will I ever learn how to do this?
You AREN’T a failure! We all learn at different rates! What (in my opinion) is the best benefit of crocheting? The community. The crochet community is brimming with crafters who are ready to assist you to learn at your own pace and in your own way. As long as you still have a passion for yarn and hooks – we will help you in any way we can! In fact, you can sign up for my email newsletters to get notified of more tips, tricks, and crochet patterns – or you can contact me directly with questions about any of my patterns of posts!
The “No-Counting” Crochet Foundation Explained:
Obviously, you will need a certain set of skills in order to create the “No-Counting” Foundation – but the skills are not as advanced as you might think. First, you must know how to chain. Second, you need to be able to make the foundation version of the row 1 stitch. So, if row 1 is made of double crochet, you need to learn how to make the foundation double crochet (fdc), or if row 1 is made by single crochet, you need to know the foundation single crochet (fsc). You also must be able to untie simple, loose knots. Like I said, not terribly advanced stuff.
Also, there are certain rules that apply to the “No-Counting” Foundation. First, this only works on patterns that row 1 has a definite stitch repeat. For instance, a ripple or chevron blanket is made in sets of peaks and valleys – each one consisting of a certain number of stitches. The “No-Counting” Foundation technique will not work if row 1 looks like “Ch 1, sc in ea st.” There are no defining features of that row – no true stitch repeat. You just gotta count that one. I’m sorry. Find a better pattern. Just kidding, there are amazing patterns that begin with a simple row 1.
If you are looking for the perfect pattern to test this “No-Counting” Foundation on, try my Destin Blanket. In fact, I designed the entire pattern built on the “No-Counting” Foundation.
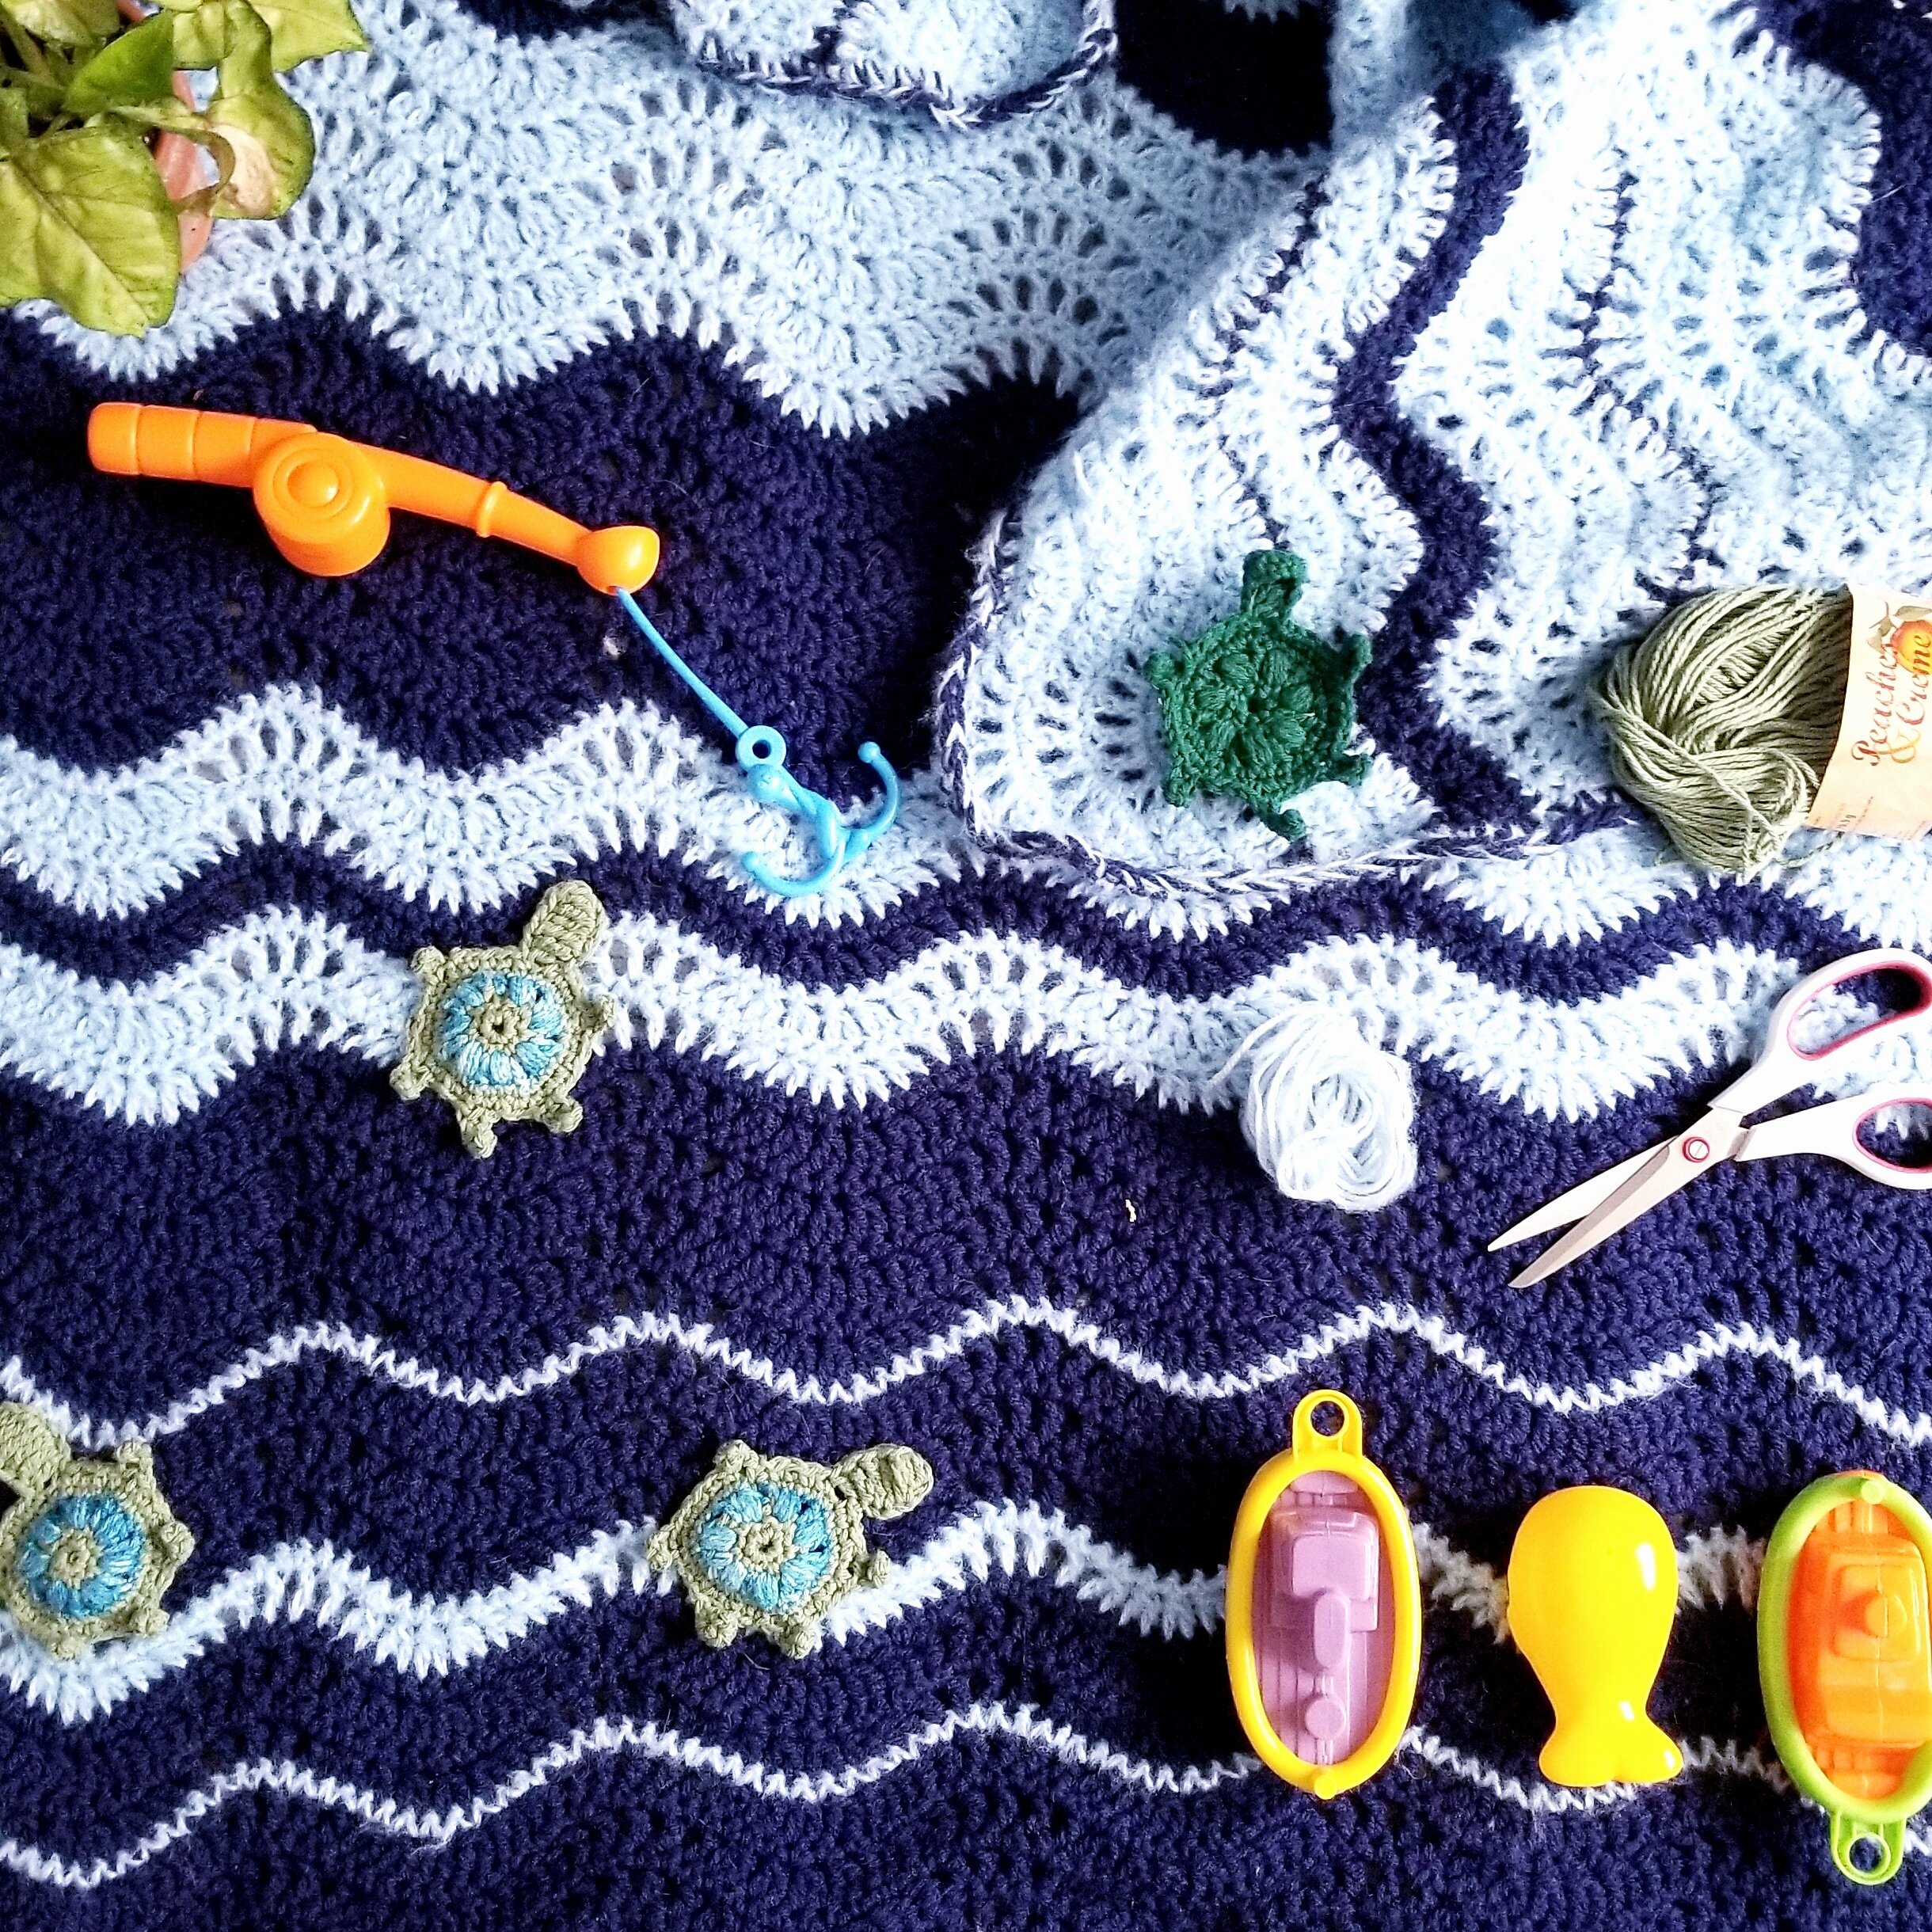
Destin Ripple Blanket
Step One: CHAIN A LOT.
Start with a chain that is roughly the size you want the finished object to be. Obviously, you don’t want to count it, but the closer you get to the actual stitch count, the better. I’ll generally start with some counting, but quickly give up and just sort of “guess-stimate” what the final chain will look like.
*Note: If you are making a ripple or chevron blanket with this technique, remember that the peaks and valleys of these patterns will cause the final width of your project to be narrower that you original foundation chain, so maybe make it a little bigger than you think you will need.
After you have your chain, turn and complete row one. At this point, don’t worry if you have too many or too few chains. When you run out of chains, we will determine if we need more or less.
If you are NOT following a pattern, move to step two.
If you ARE following a pattern and want to make sure you have the right number of stitches, use the following formula to determine if you are on track:
Number of st repeats x number of stitches in the repeat = total number of stitches worked.
This way, you are only counting smaller numbers and multiplying them together to get your total – not trying to keep track of 300+ stitches.
Step Two: DETERMINE IF YOU NEED MORE OR LESS CHAINS.
I need less chains
Once you reach the end of row one, you will easily see if you need more stitches or fewer stitches to complete the last stitch repeat. If you have too many chains, the answer is simple. Untie them.
Chain do not unravel as easily from the starting point as they do from the finishing point, but they are simply small knots made with the hook. You can use your fingers and untie them – which is quite easy if you made them loosely. Simply untie the extra chains, then move on to row two!

No Counting- just untie any extra chains!
I need more chains
If you need more chains, you can simply fdc or fsc as needed. If you are working a ripple stitch, you can increase (to form the peak) within the fdc, by simply adding two dc into the fdc.
1. Yarn over, pull up a loop in the last chain (3 loops on hook)
2. Yarn over, pull through one loop - new foundation chain made (three loops on hook)
3. Yarn over, pull through two loops (2 loops on hook), yarn over, pull through remaining loops on hook – foundation double crochet made.
**To increase, simply place another dc in the new foundation chain before repeating the steps. Or, if the pattern calls for it, you can ch 1 before creating a new fdc.

No Counting - add foundation double crochet if your chain is too short.
You did it!!!
The foundation of your project is made! The amount of counting needed was minimized, if not erased entirely! I realize that some of you may still want to count your stitches, and I realize that this method is not for every pattern - but I love using it for patterns it does work for! The fact that you can add or reduce your foundation at the end of the first row is huge!
Suppose after the first row, you realize maybe you should make a bigger or smaller size in your sweater? Instead of frogging the foundation and recounting (at least three times, because who can keep track??) you can simply add or detract right there - with little effort!
I hope you found this tutorial helpful! If you did, leave me a comment below! If you have any questions about this method or any of my patterns, you can always contact me!
Remember, images, ideas, and thoughts used in my post belong to me and should not be distributed without my permission.
Don’t forget to tag me on Instagram if you use this technique! I love seeing your creative genius!

No Counting Crochet Foundation Tutorial


