


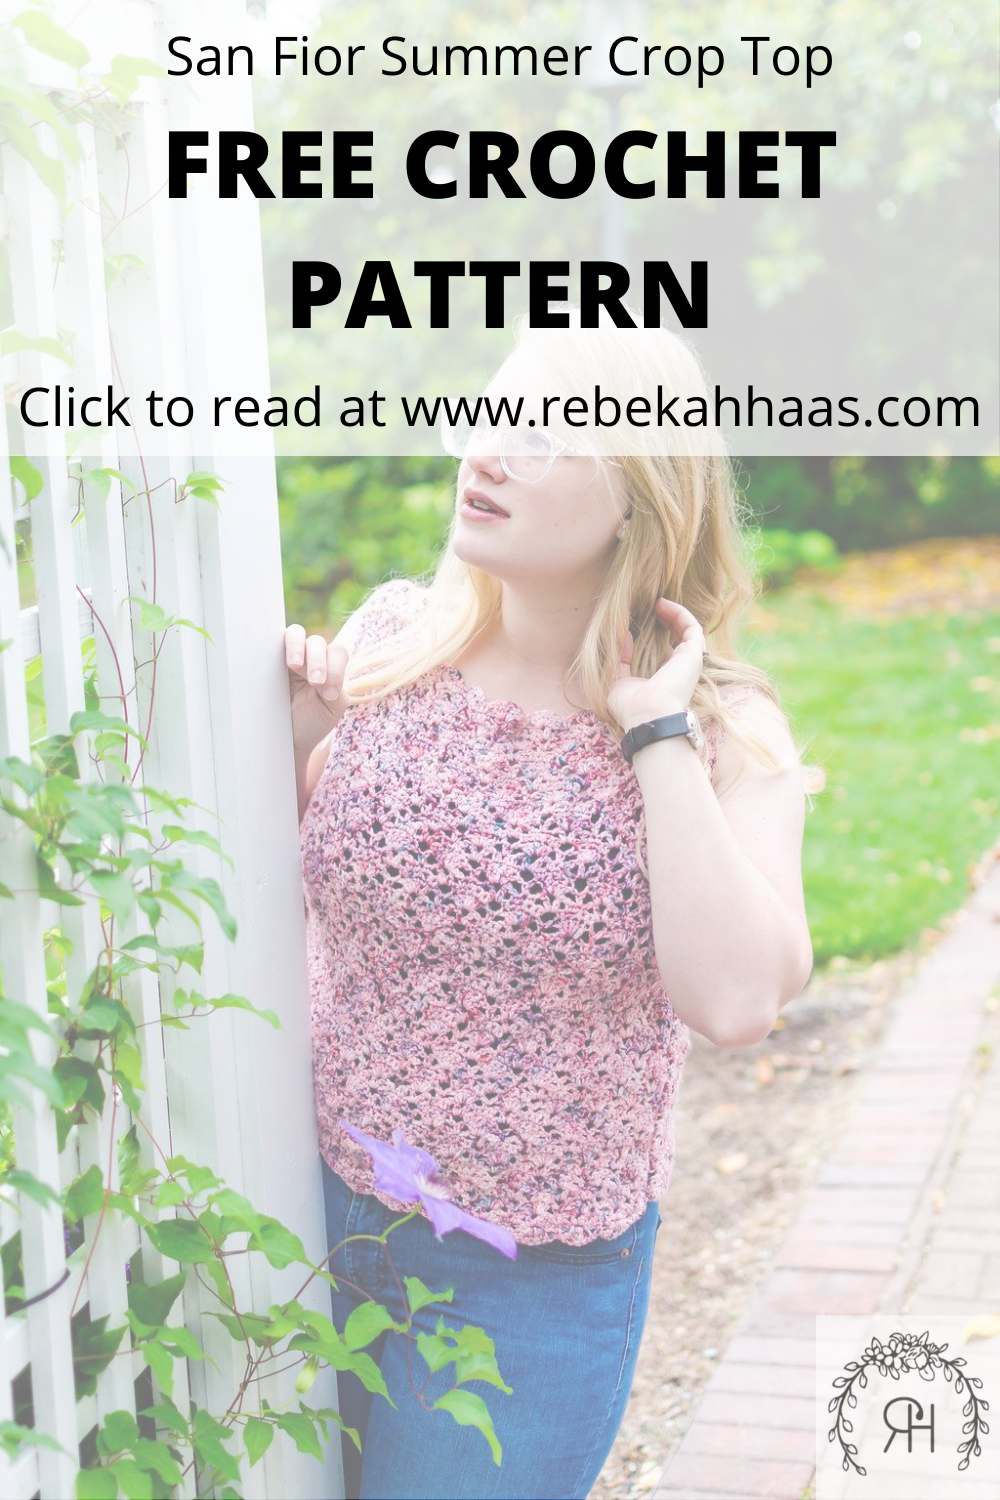
San Fior Summer Crop Top: A Free Crochet Pattern
Spring flitted across the calendar like dandelion seeds in the wake of a child’s breath. Before I’d really settled into our spring routine, summer was upon us with its sweltering heat and muggy humidity. Early sunrises greet me each morning as I wipe the condensation off the windows to squint out into the heat. A sudden arctic blast sends a shiver down my spine as the air conditioning kicks in. I think I’ll have a glass of iced tea. Oh, yeah, it’s summer in the south!
This year, I’ve made a point to dive back into garment design. I took one of my favorite shawl patterns, the San Fior Shawl, and turned it into a summer crop top. Of course, if you aren’t comfortable with a crop top, this pattern can be lengthened to give you the look you prefer.
Like it? Save it to your favorite Pinterest board.
And don’t forget to follow me while you are there for more crochet pattern and inspiration.
Crochet Summer Crop Top Free Crochet Pattern #freecrochetpattern #summercrochet
Back where it all began…
The San Fior Summer Crop Top crochet pattern is based off my San Fior Shawl pattern. Inspired by some of my favorite childhood memories of visiting the lambs each spring, the San Fior series is light, fun, and full of sweet romance. The first iteration of the San Fior series is a light, fingering weight shawl with an incredible fan edging that just makes me want to swoon! The second part of the series is the San Fior Slouch Hat, the perfect accessory for spring or fall, with the delicate lightness and modern fit. I get so many compliments on this hat every time I wear it!

San Fior Shawl

San Fior Slouch Cap
Supplies
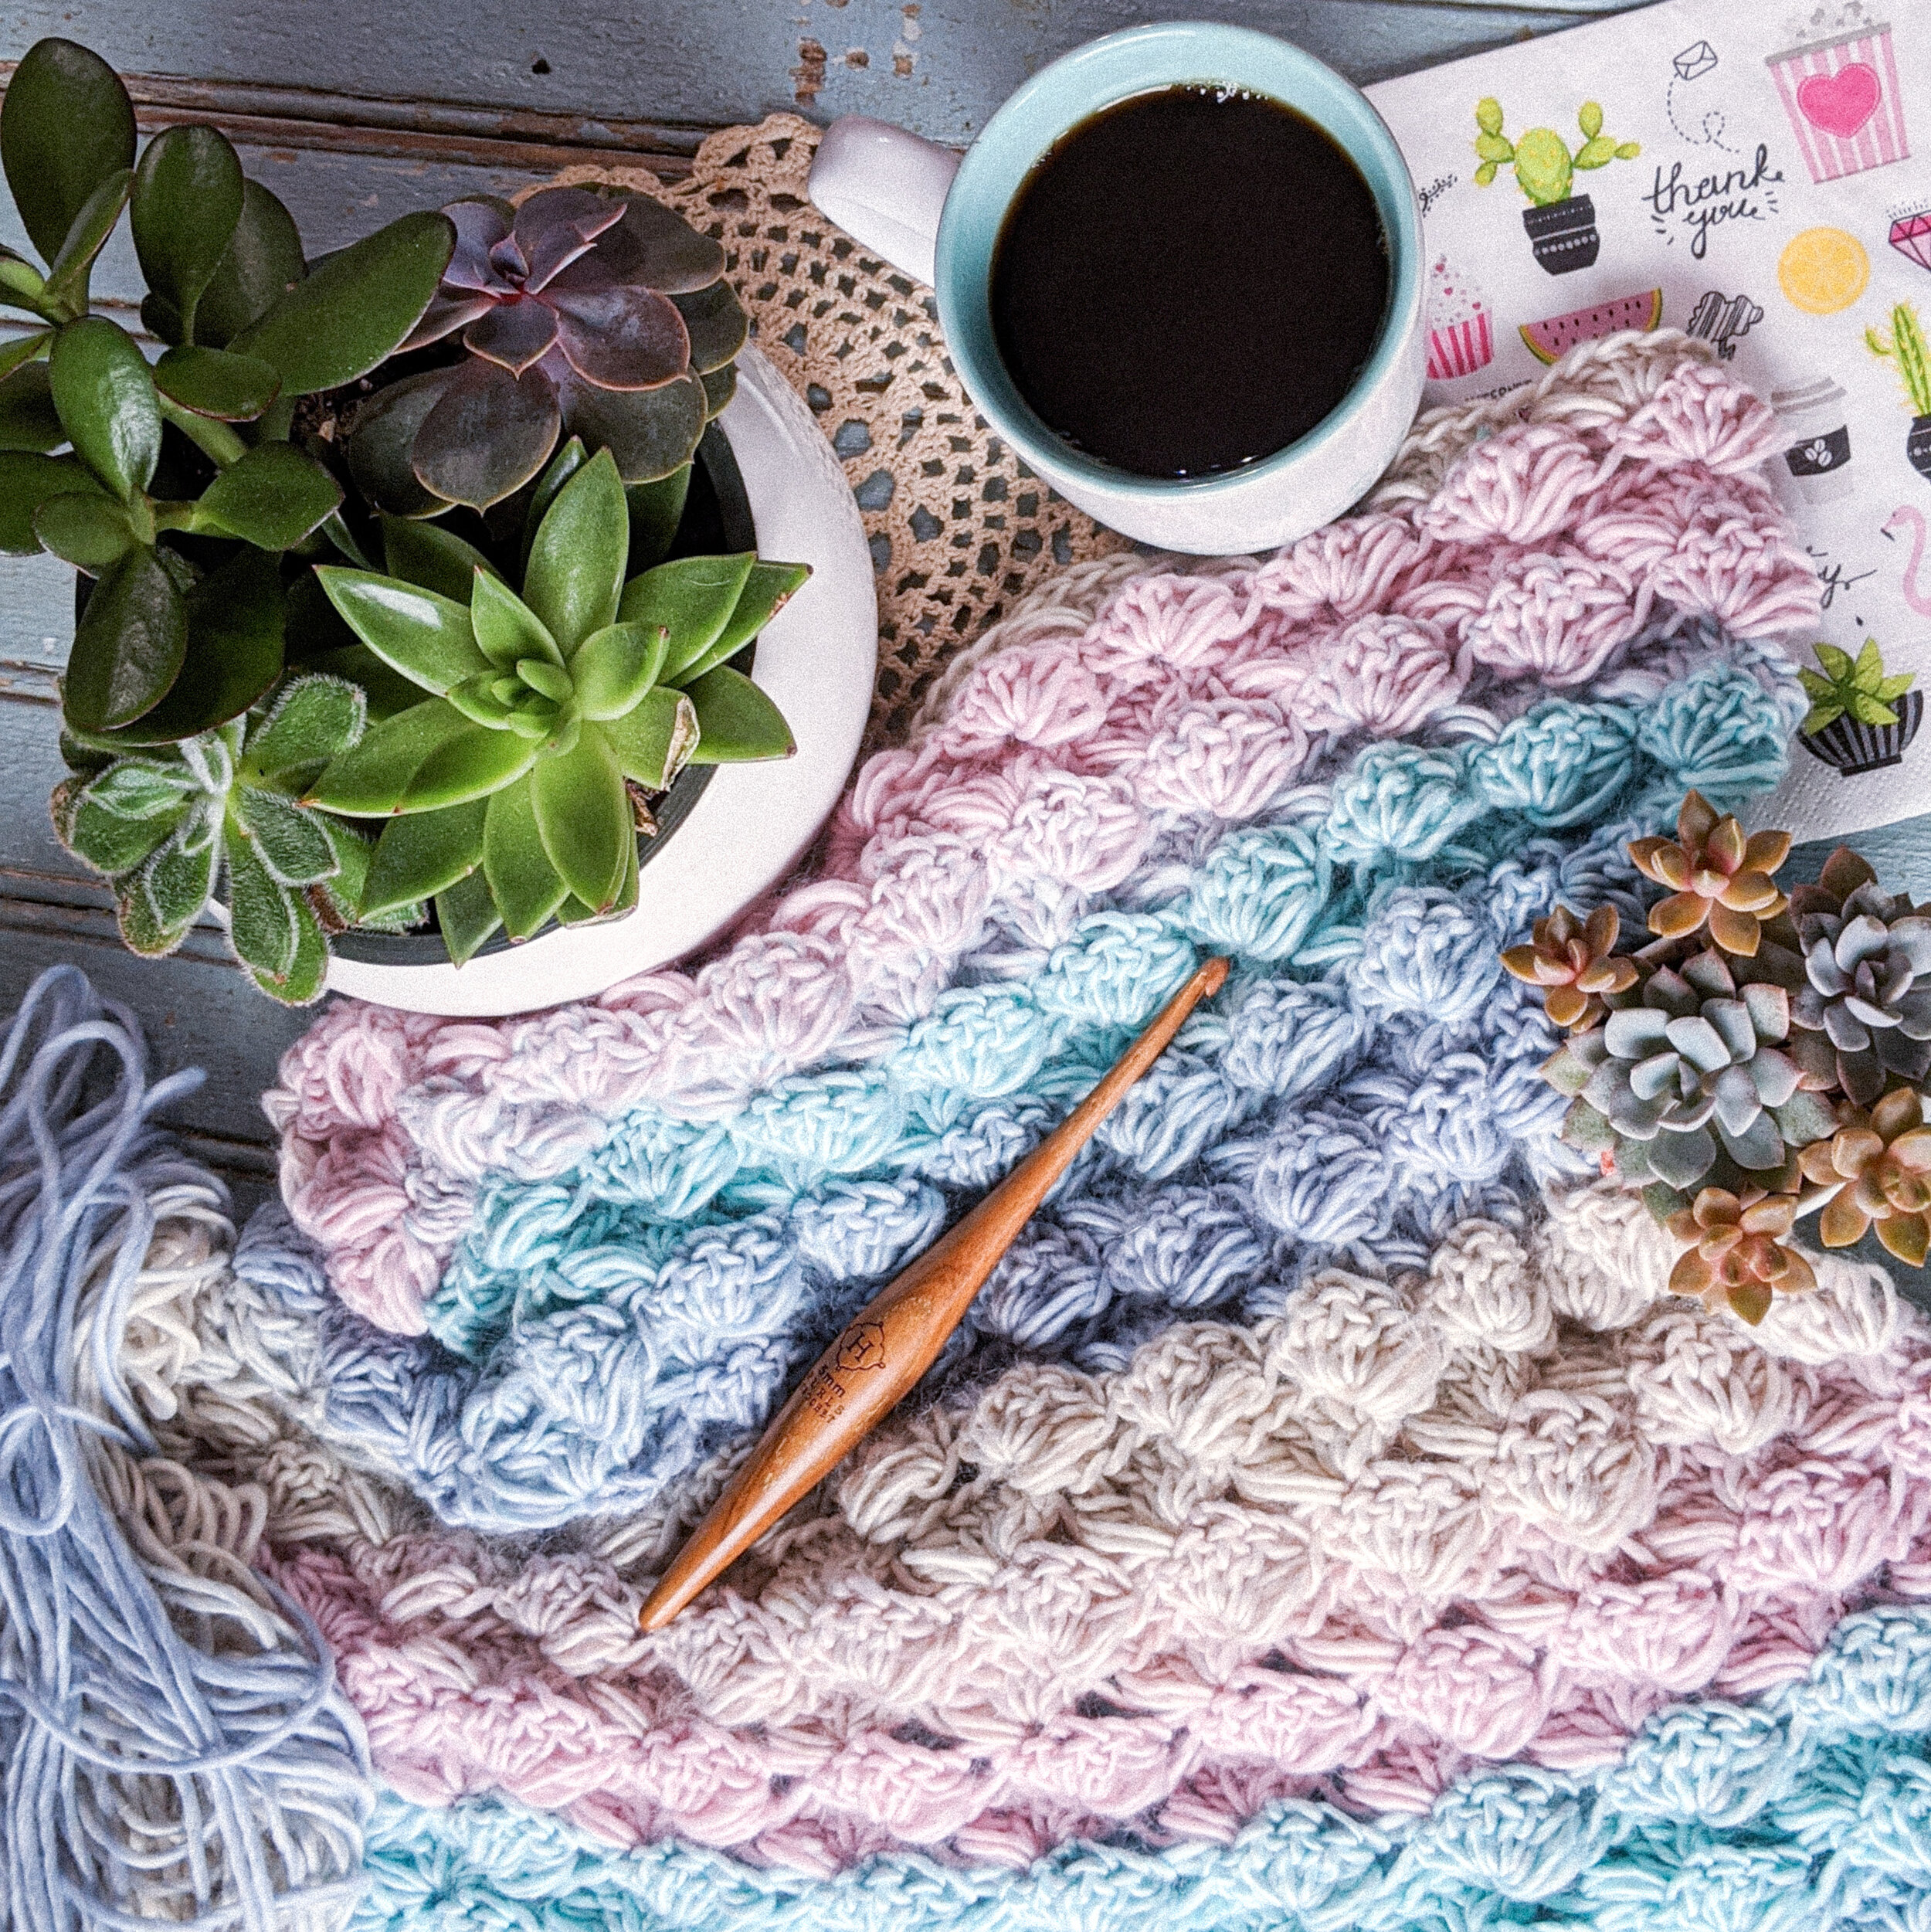
For the San Fior Summer Crop Top, I had the fun oppoturnity to work with Dana from Harbor Fibres for this pattern. She sent me her DK/3 weight wool blend in the color Crisp and Colden. I adored working with this yarn and will probably order more from her for future projects! Check out her yarn here.
My testers used several different yarns for this project. Quite a few of them used Lion Brand Comfy Cotton or Lion Brand Truboo for their top. Both these yarns have fantastic stitch definition and drape. They are also lightweight yarns, perfect for the warmer weather.

Of course, if you are going to make a large project like a garment, you need a comfortable hook! I highly recommend the Furls Crochet ergonomic hooks! I used my Odyssey for this pattern and loved every second! The hook slides smoothly through the yarn, is incredibly comfortable to hold, and is weighted to help you relax as you work through the project. Of course, if you don’t like the weighted hooks, their Streamline hooks are also comfortable, but more lightweight.
The San Fior Top Pattern
Materials:
Dk/3 Weight wool or acrylic yarn
I used Harbor Fibers Dk Merino in Crisp and Colden, 220 yd/100g per skein
S: 3 skeins M: 3 skeins L: 4 skeins Xl: 4 skeins 2XL: 5 skeins 3XL: 6 skeins G/4.00 mm Hook
Yarn
Needle to weave in ends
Stitches and Terms (U.S. Terms):
Ch - Chain
St - Stitch
Sl St - Slip Stitch
Sc - Single Crochet
Dc - Double Crochet
Ea - Each
Fch - Foundation Chain
Shell - Shell Stitch
V St - V Stitch
Special Stitches:
Shell Stitch - 5 dc in same stitch
V Stitch - Dc, ch 1, dc
Gauge:
14 stitches x 13 rows = 4” Start with a chain multiple of 6+1, the follow the instructions for Rows 1-4 of the pattern.
Notes:
Stitches between *stars* are repeated. Stitches in (parentheses) are made in the same stitch or space.
Turn at the end of each row.
The chain stitches in this pattern do not count as a stitch.
You will skip the ch 1 or ch 2 and work only in the shell, v stitch, and sc stitches in this pattern.
Any DK/3 weight yarn should work with this pattern, as long as you meet gauge.
The pattern is worked in two panels, the edging is added, then seamed together.
The bust sizes are as follows: S: 34” XL: 46” M: 38” 2XL: 50” L: 42” 3XL: 54”
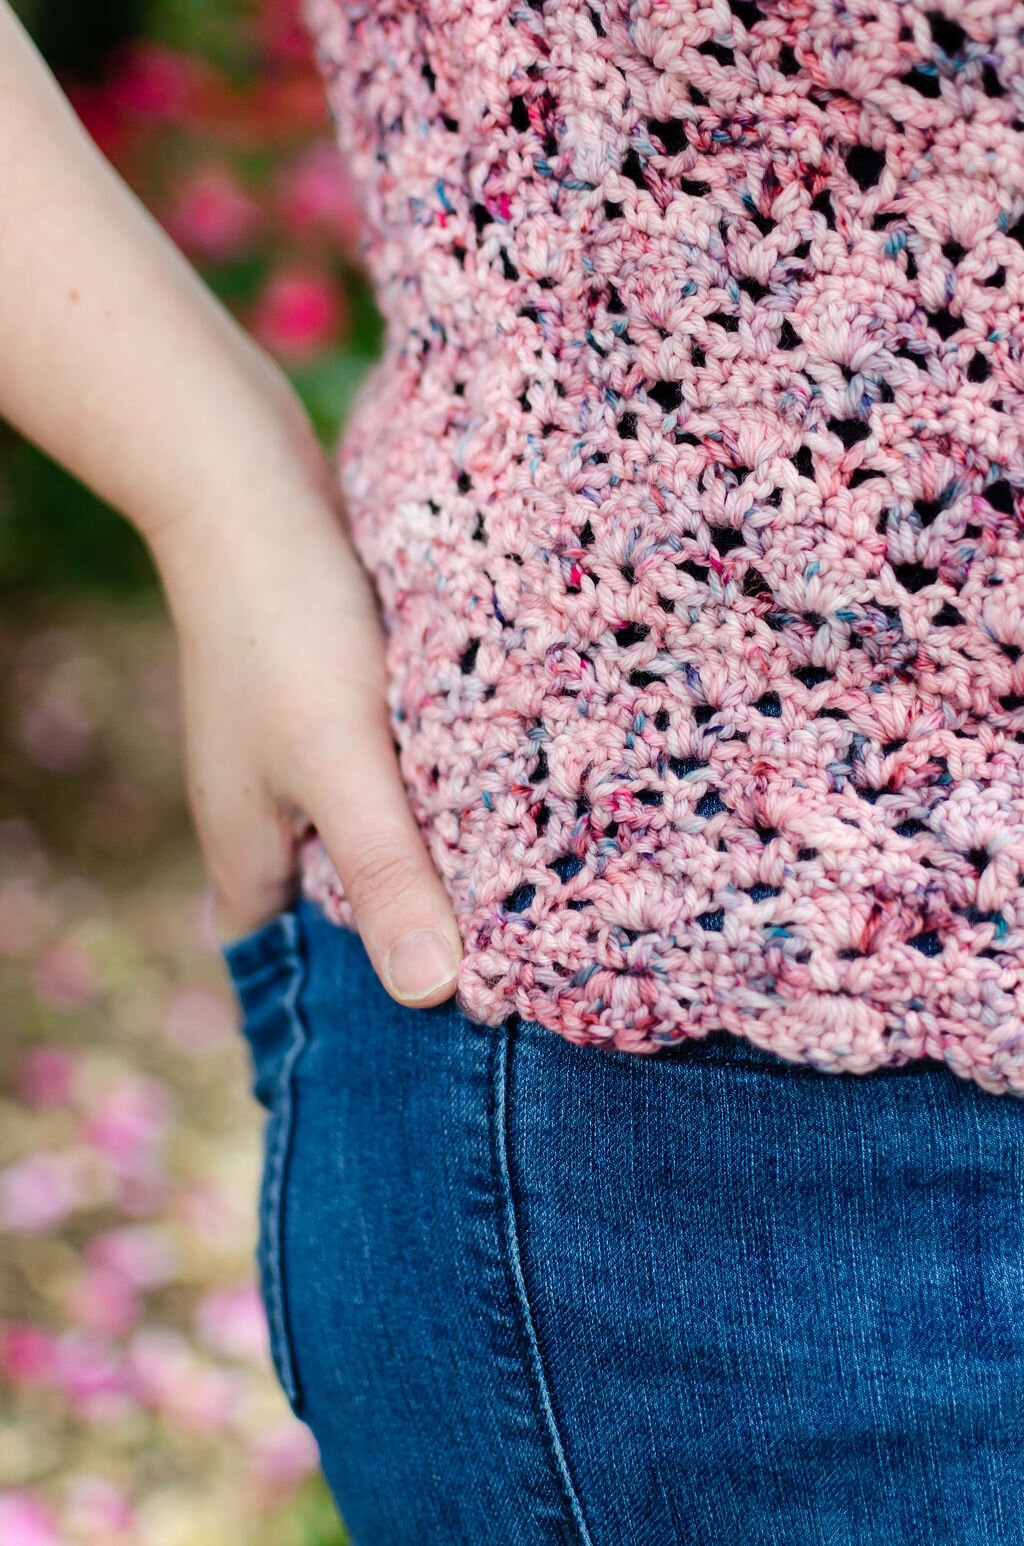
This pattern incorporates some negative ease to be more fitted.
The final length should sit above the waist, like a crop top. If you tend to have a long torso or just prefer a longer top, add one more repeat before the armholes.
For color coded sizes, please purchase the printable PDF through my Ravlery or Etsy shop for $3.

Get your hook ready!
Main Panels:
Make 2 (Beginning chain does not count as a stitch in this pattern)
Ch 62, 74, 80, 92, 98, 104
Row 1: Sc in second ch from hook and next two ch, ch 2, sk 1 ch, *sc in next 5 ch, ch 2, sk 1* repeat until three ch remain, sc in last 3 ch. (52, 62, 66, 76, 81, 86 sc)
Row 2: Ch 1, sc in first 2 sc, ch 1, sk 1 sc, *v st in ch 2 sp, ch 1, sk 1 sc, sc in next 3 sc, ch 1, sk 1 sc* repeat until 1 ch 2 sp remain, v st in next ch 2 sp, ch 1, sk 1 sc, sc in last two sc. (10, 12, 13, 15, 16, 17 v st)
Row 3: Ch 1, sc in first sc, ch 1, sk 1 sc, *shell in v st, ch 1, sk 1 sc, sc in next sc, ch 1, sk 1 sc,* repeat until 1 v st remain, shell in last v st, ch 1, sk 1 sc, sc in last sc. (10, 12, 13, 15, 16, 17 shell st) Row 4: Ch 1, sc in first sc, ch 1, sk ch 1, sc in next 5 dc, *ch 2, sk 1 sc, sc in next 5 dc* repeat until 1 sc remain, ch 1, sc in last sc. (52, 62, 66, 76, 81, 86 sc)
Row 5: Ch 1 (pull it up a little higher), dc in first sc, ch 1, sk 1 sc, *sc in next 3 sc, ch 1, sk 1 sc, v st in next ch 2 sp, ch 1, sk 1,* repeat until 5 sc remain, sc in next 3 sc, ch 1, sk 1, dc in last st. (9, 11, 12, 14, 15, 16 v st)
Row 6: Ch 1 (pull it up a little higher), dc 3 in first dc, ch 1, sk 1 sc, *sc in next sc, ch 1, sk 1 sc, shell in v st, ch 1, sk 1,* repeat until 2 sc and 1 dc remain, sc in next sc, ch 1, sk 1 st, dc 3 in last dc. (9, 11, 12, 14, 15, 16 shell st)
Row 7: Ch 1, sc in first 3 dc, ch 2, sk ch 1, *sc in next 5 dc, ch 2, sk 1, * repeat to end, sc in last 3 dc. (52, 62, 66, 76, 81, 86 sc)
Row 8-31, 31, 31, 38, 38, 38: Repeat Rows 2-7 *Note: one repeat of rows 2-7 will fit like a crop top, repeat rows 2-7 a second time if you prefer a hip length top.
Row 32, 32, 32, 39, 39, 39: Sl st in first 8 sc and into the ch 2 sp, ch 1 (pull it up a little higher), dc in ch 2 sp, ch 1, sk 1 sc, *sc in next 3 sc, ch 1, sk 1 sc, v st in next ch 2 sp, ch 1, sk 1 sc, * repeat until 11 sc remain, sc in next 3 sc, ch 1, sk 1 sc, dc in next ch 2 sp. DO NOT WORK IN REMAINING 8 SC. Turn.
Rows 33, 33, 33, 40, 40, 40 - 34, 34, 34, 41, 41, 41: Repeat rows 6-7
Rows 35, 35, 35, 42, 42, 42 - 47, 47, 47, 62, 62, 62: Repeat rows 2-7, ending on row 6.
Fasten off. Weave in ends. Continue to Bottom Edging.
Bottom Edging:
*You can make the edging as deep or shallow as you want. If you want to add length, you can do so here, or you can keep it simple.
The edging is the same stitch pattern as the main body, just going the opposite direction. Pick up a loop in the first stitch of the foundation chain, ch 1, and continue using the Main Panels pattern starting at Row 2. You can make the edging as many rows of the stitch repeat as you want to add length, or you can make it very shallow, like I did, using the instructions here:
Row 1: Pick up a loop in the first foundation chain, ch 1, sc in the first st, ch 1, sk 2 ch, shell in the ch sp, ch 1, sk 2, *sc in the next fch, ch 1, sk 2, shell in the next ch sp, ch 1, sk 2,* repeat until 1 st remain, sc in the last st. (10, 12, 13, 15, 16, 17 shell st) Fasten off, weave in ends. Repeat on the second panel. Continue to Seaming.
Seaming:
Side Seams: Lay the two panels right side together (although, let’s be honest, both sides should be the same). Starting at the bottom, pick up a loop through both panels and sc in the side of each seam until you reach row 31, 31, 31, 38, 38, 38. Fasten off. Weave in ends. Repeat on the other side.
Shoulder Seams: With both panels held together, pick up a loop through the last stitch of row 46, 46, 46, 61, 61, 61, ch 1, sc in each of the next 12 stitched (not counting chains). Fasten off. Weave in ends. Repeat on the other side.
Turn so the seams are on the inside.
Blocking: Wash on a gentle cycle, lay flat and pin to shape. Let dry 24 hours. *Blocking is optional, but this pattern benefits from the blocking process.
Don’t forget to share this pattern!

Free Crochet Lace Summer Crop Top Pattern #freecrochetpattern #crochetlacetop #crochetcroptop
This pattern is written by Rebekah Haas. I hold the copyright to this pattern. It should not be published, shared, or sold without direct permission of the designer. You are, of course, welcome to sell any items you make using this pattern. If you post pictures of your item on Instagram or Facebook, please credit me with the design by linking to my Instagram account or website. Thank you for choosing to make my pattern! I hope it inspires you!


