


Bucaneve: How to Make a Textured Mandala, Beginner Friendly
The sky is bright, the earth is cold, and the bucaneve nod their heads daintily in the dancing spring breeze. Those early flowers have inspired so many, including bakers. One of my favorite Italian treats is the Bucaneve cookies - inspired by snowdrops! The Bucaneve Mandala is a fantastic early spring project - ya know, we are tired of making sweaters, but the wind isn’t warm enough for true warm weather tops!
The Bucaneve Mandala was designed to assist the beginning mandala maker and solve some of the top complaints I hear from crocheters who like the idea of making a mandala, but aren’t quite ready to try. I’ve used thick yarn, a regular hook (not the steel tiny ones you need for thread), and included step by step instructions to walk you through the pattern. The top complaints I hear from crocheters wanting to make a textured mandala are that 1) the hooks are too small and cause hand cramps, 2) the thread is too small, which makes the stitches hard to see and the projects take longer to complete, and 3) the patterns are difficult to read. My goal with Bucaneve: the Beginner’s Crochet Mandala is to help you leap these hurdles and help you accomplish your goal of creating a beautiful crochet mandala.
Like it? Pin it!

Beginner friendly crochet mandala tutorial and free pattern
And follow me on Pinterest for more fun and easy crochet patterns!
Named after my favorite cookie, the Bucaneve pattern is super simple, once you understand the basics of reading a textured crochet mandala pattern. Like the cookie, her beauty is in her simplicity and delicate floral shape! This free crochet pattern is worked up in worsted/4 weight cotton. I must emphasize that the use of cotton or other natural fibers is extremely important for a crochet mandala. Most mandala patterns need to be blocked (don’t panic, I’ll teach you!) in order to fully display their beauty! While working up this or really any mandala crochet pattern, the material may start to curl and fold up on itself. Have patience! Once you block your gorgeous creation, the stitches will open up and the mandala will lay flat!
Reading a crochet mandala pattern requires faith! I can’t tell you how many times while making a mandala, I have read through the round and thought, “I’m sorry, you do WHAT?” Or, after finishing a round, thought, “Well, that looks weird and doesn’t make sense.” Just like baking cookies, each individual stitch or row (ingredient) may not always make sense, but trust the author of the pattern (recipe?) and it all comes together into something beautiful! Just follow the pattern, stitch by stitch, and have faith that it works out in the end!

Free Crochet Mandala Pattern Beginner Friendly
This post may contain affiliate links. I receive a small commission when you purchase through these links at no additional cost to you. See my Terms of Use for more details.
Materials:
A small amount of Worsted/4 weight cotton (I used Hobby Lobby I Love This Cotton, but you could also use something like Lion Brand 24/7 Cotton or Lilly’s Sugars n’ Cream Cotton)
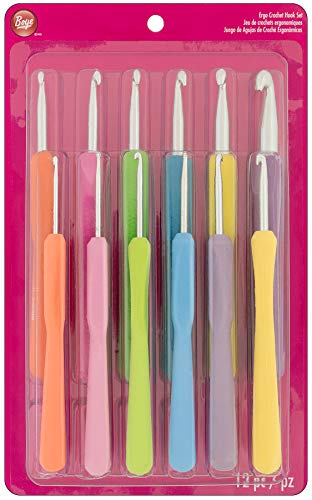
3.75 mm Hook - I recommend an ergonomic one!

An 8” metal hoop, like those found in the macramé section of a craft store


OR
Wax Paper or Parchment Paper and Ironing Board
Pins for blocking (Amazon no longer offers the exact set I used, but this one looks similar!)
Yarn Needle to weave in ends

Stitches to know:
If you are not familiar with any of these stitches, feel free to watch the tutorial linked. I will not be providing full stitch tutorials in this pattern.
Ch—Chain
Sl St—Slip Stitch
Sc—Single Crochet
Hdc—Half Double Crochet
Dc—Double Crochet
Tc—Treble Crochet
Bphdc—Back Post Half Double Crochet
Bpdc—Back Post Double Crochet
Fptc2tog—Front Post Double Crochet Two Together
Notes:
U. S. Terms
In this pattern, both treble crochets in the fptc2tog will be placed around the SAME STITCH to create a cluster stitch look.
This pattern may curl up a little as it takes shape. It will require blocking at the end to open up the stitches and show its full beauty.
Mounting on the hoop is optional.
Cotton yarn or other natural materials is needed for blocking. Acrylic and other synthetic materials do not block well and quickly lose their shape.
Repeats will be between *stars* and stitches worked together in the same space will be indicated by [brackets].
Notes made during the pattern will be in (italicized parentheses).
Skipped stitches are not always written in as skipped. Just work in the space or stitch indicated and skip any stitches not mentioned.
Get the Pattern on Ravelry for only $3, or find the free version below!
Pattern:
Ch 4—counts as first dc, ch 1
The first round is worked in the first ch of your ch 4 - the remaining three chains count as a dc, ch 1.
Round 1: *dc, ch 1* in first ch. Repeat four more times. Join with sl st to starting ch. (6 dc; 6 ch 1 sp; including starting ch)
Your work should resembled a spoked wheel, like a bike. See picture above.
Round 2: Ch 1 (does not count as first st), *2 sc in ch 1 sp, ch 1, sk dc* repeat around. Join with sl st to first sc. (12 sc, 6 ch sp)
Round 3: Ch 4 (counts as dc, ch 1), dc in same st. [dc, ch 1, dc] in next sc. Ch 2, sl st in next ch sp. Ch 2. *[dc, ch1, dc] in each of the next two sc, ch 2, sl st in ch sp, ch 2 * repeat around. Join with sl st to starting ch 4. (24 dc, 12 ch 1 sp)
Read the instructions slowly, take it one stitch at a time! If you need, print the pattern and mark each stitch with a check as you go to keep track of where you are in the pattern. Use the counts in parentheses at the end of each round to make sure you are on track.

Free Beginner Crochet Mandala Pattern

Round 4: ch 1, sc in same ch 1 sp (mark this sc and leave the marker there), ch 4, sc in next ch 1 sp, ch 6, *sc in next ch 1 sp, ch 4, sc in next ch sp, ch 6* repeat. Join with sl st to first sc. (6 ch 4 sp; 6 ch 6 sp)
In Round 4, only the stitches we are working in are mentioned. Because mandalas have so many detailed stitches, listing every stitch you skip clutters the pattern, making it difficult to read. Have faith! Just work in the ch 1 spaces from Round 3 and skip everything else. In other mandala patterns, such as those by Grace Fearon, skipped stitches are rarely mentioned, unless needed to clarify.
Round 5: Sl St into ch 4 sp. Ch 1, *[sc 4, ch 2, sc 4] in ch 4 sp, sk sc, [sc 2, hdc 2, dc 2, ch 2, dc 2, hdc 2, sc 2] in ch 6 sp, sk sc, * repeat around. Join with sl st to first sc. (12 ch 2 sp; 6 [sc 4, ch 2, sc 4]; 6 [sc2, hdc 2, dc 2, ch 2, dc 2, hdc 2, sc 2])
You are now making the “petals” of this mandala. It is easy to get lost in the long list of stitches for each petal, so take your time, count your stitches. Again, you will notice that the sc from the previous round are not mentioned in this round, skip them. Only work in the stitches specified.
Round 6: Ch 1, fptc2tog around marked sc of Round 4, sk 1 sc, sc 3, [sc, ch1, sc] in ch 2 sp, sc 3, fptc2tog around next sc of Round 4, sk 2 sc, bphdc 2, bpdc 3, [tc, picot, tc] in ch 2 sp, bpdc 3, bphdc 2, *fptc2tog around next sc of Round 4, sk2 sc, sc 3, [sc, ch1, sc] in ch 2 sp, sc 3, fptc2tog around next sc of Round 4, sk 2 sc, bphdc 2, bpdc 3, [tc, picot, tc] in ch 2 sp, bpdc 3, bphdc 2, * join with sl st to first fptc2tog. Fasten off. Weave in ends.
In this round, skipped stitches are mentioned, because they are necessary to locate the correct place to put the next stitch. Also in this round you create texture by working over Round 5 and into Round 4. This technique of working front post stitches into a previous round is one of the most important in creating a textured mandala.
Ready to try crocheting with thread?

My Top Thread Crochet Tips!

Use this pattern to make earrings!
Blocking:
At this point, your beginner crochet mandala is probably a bit wavy, not exactly flat, and doesn’t quite look like the one pictured, although the resemblance is there! Like, they could be cousins, but we won’t bet on it.

Beginner Crochet Mandala Pattern
Now we block it! Blocking your crochet stretches the stitches open, helping them achieve their full potential. Some prefer the look of unblocked mandalas, but I personally love the finished look of a blocked crochet mandala.
The first step is to get your beginner crochet mandala wet! I put a little tap water in a mixing bowl and dunk my mandala in it! I squeeze it between my hands, getting it completely wet. I take it out, gently squeeze out the excess water and set it aside. I then toss the water and move on to the fabric stiffener.

Free Crochet Mandala Pattern
You will hear two terms tossed around in regards to blocking a crochet mandala: soft blocking and hard blocking. Which you decide to use is entirely up to you! I personally hard block some and soft block others, depending on the purpose I want it to serve. I plan to make a dream catcher from this crochet mandala, so I chose to hard block it.
To hard block, use the fabric stiffener at full strength, undiluted. Work the stiffener through the fibers thoroughly. I suggest doing this in a mixing bowl to prevent spills and messes; however, wash the bowl immediately to prevent the stiffener from drying in it. Once the hard blocked mandala is dried, it will be stiff and hold it’s shape well. This is great for making lace ornaments, jewelry, or dream catchers.
To soft block, dilute the stiffener as desired in a mixing bowl. Understand, the further you dilute it, the softer your final mandala will be and may need blocking again if it is not mounted. Work the diluted stiffener thoroughly through the fibers. This method is perfect for softer projects that you might want to touch, like a table cloth, doily, or a garment

How to Block a Mandala
If you do not have a blocking board, pin a sheet of wax or parchment paper onto your ironing board or onto a sheet of cardboard. I usually just use my ironing board, but I’m pretty sure I have a blocking board somewhere. While an ironing board covered in wax paper will work, a blocking board has a grid and measurements on it to help you create a completely even look. Since this one will be mounted in a ring, I just laid the ring on top of it when I finished to see if I had the points where I wanted them.
Place your wet, stiffened crochet mandala onto the blocking board (or improvised blocking board). Place the first pin in the center.

How to Block a Crochet Mandala
Select one of the tall points, stretch it as far as you want and pin it in place. Move to the point directly opposite, stretch it the same distance, and pin it as well. Work your way around the mandala, pinning each tall point first, then pin the shorter ones where you want.

Blocking a Crochet Mandala
I have a tendency to pull the mandala points a little too far. Once I had them all stretched, I realized it looked more like a star than a flower (and it was more than 8” across - too big for my ring!). I slowly adjusted each point, pulling and pushing the stitches to be exactly the shape I want. Since I am hard blocking this crochet mandala, it will stay in whatever shape I stretch it into.

How to Block Crochet Mandala
Once I have each point the way I want it, I leave it to dry. Since this beginner crochet mandala is worked in worsted/4 weight cotton, it took a little longer to dry - at least a full 24 hours. Once it is completely dry, pull the pins out, put them away, and check out your GORGEOUS mandala! I chose to mount mine on a hoop - check out the details below:

Beginner Crochet Mandala
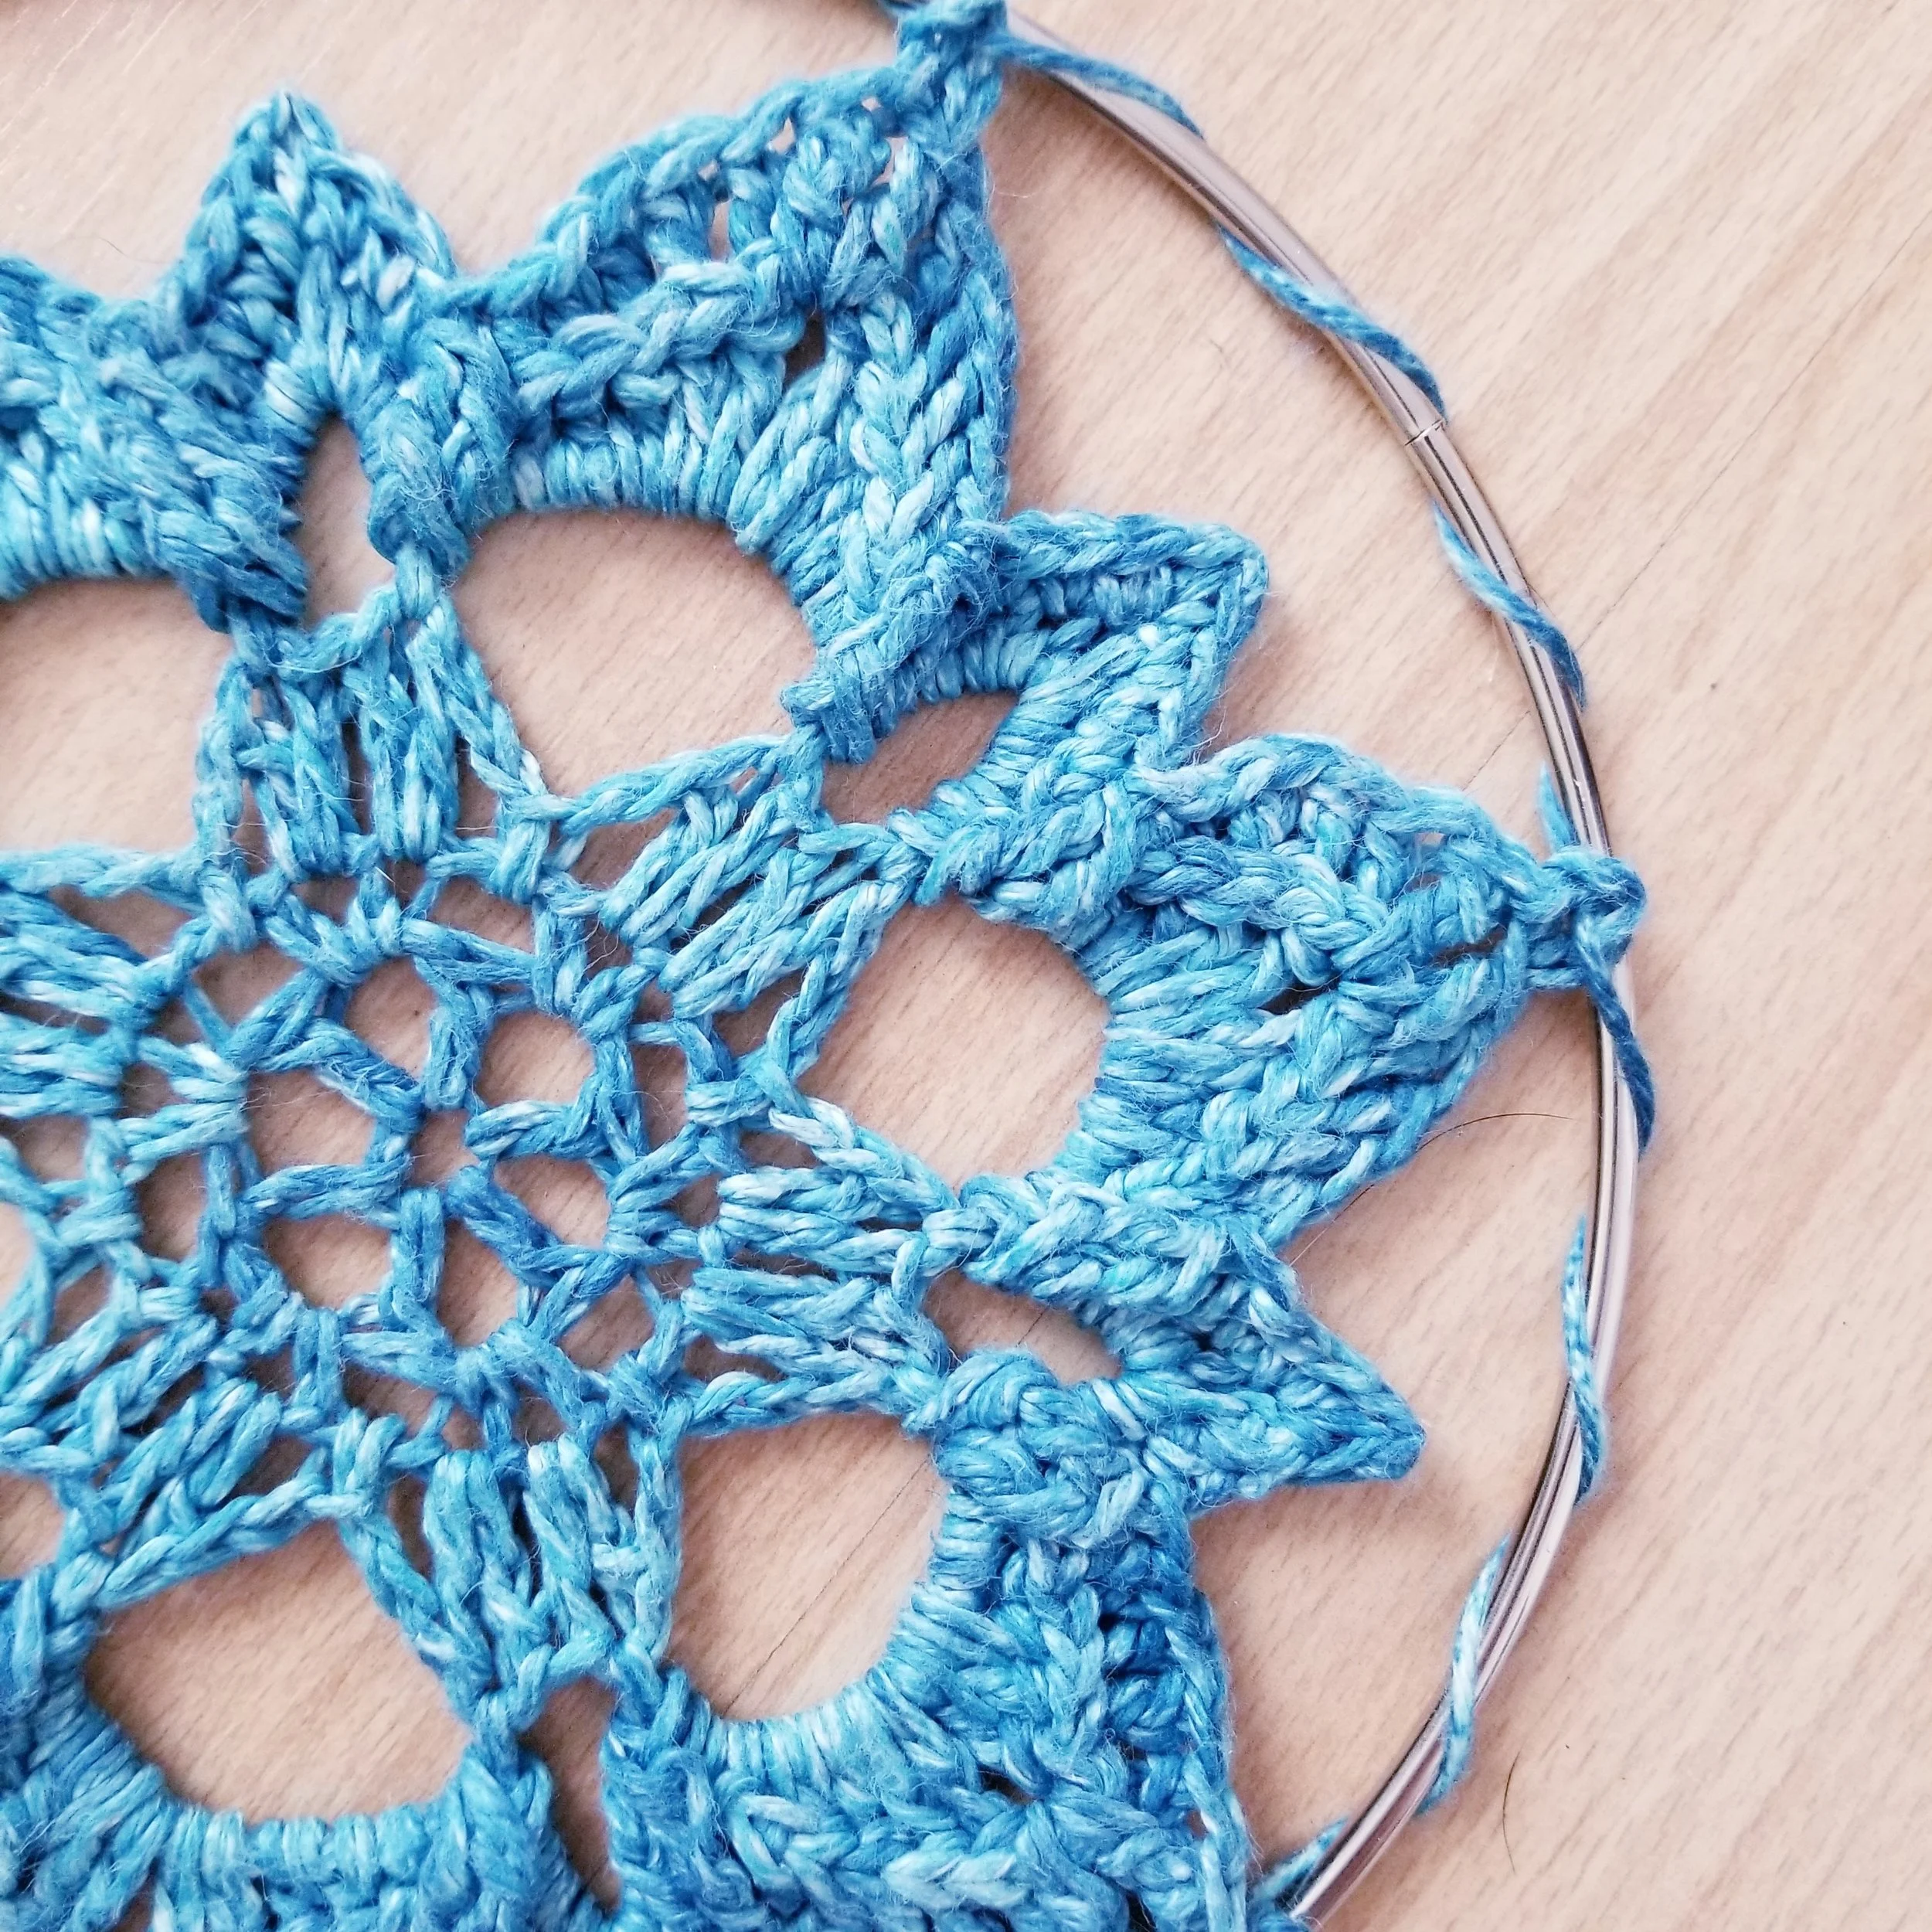
Cut a long piece of yarn - enough to wrap all the way around your hoop at least three times. You may not need all of it, but better too much than too little! Thread the yarn through your yarn need. Stitch through the picot stitch on one of the tall points and wrap around the ring three times. Stitch through the next picot stitch and wrap the yarn around the ring three times - continue this until you reach the first picot. Pull the yarn taut, making sure the points line up exactly where you want them. I tied the yarn in a tight, small knot hidden behind the first picot, then wove the ends into the work. Trim excess yarn.
Beginner Crochet Mandala
Congratulations! You completed your first textured crochet mandala! If you enjoyed this pattern and found this tutorial helpful, don’t forget to share it on your favorite social media platform!
Make your own Bucaneve Mandala Earrings!
I have a full tutorial for how to make dramatic earrings using this pattern - find it here!

Beginner Crochet Mandala Pattern
You have taken your first step on the long and beautiful journey of crochet mandala making! I love that this pattern works up so quickly! It would be easily personalized as a dream catcher gift or a baby mobile for a new little one. I could also see these doing well in an Etsy shop!
Need to leave your work in progress for a little while to come back later? Don’t forget you use a gorgeous progress saver to keep it from unravelling!
Remember, this pattern and the photos that go with belong to me, Rebekah Haas. Please do not publish, reproduce, sell, or give away this pattern without my permission. If you make Bucaneve: the Beginner Crochet Mandala, please share a picture on social media and tag me at #makerofhappythings or #rebekahhaas! You are, as always, more than welcome to sell or share the items you make using this pattern and tutorial.


