


Verona Cowl: Free Crochet Pattern
Is there anything more satisfying than a matching hat and cowl set? Ok, probably, but I still really love them. If you stick around very long on here, you will see quite a few of them showing up here on the blog. A matching hat and cowl is a fun way to dress up your overcoat when you are going out in the winter, or a nice way to warm up a cardigan in the fall. Either way, I love having a set like this on hand once the weather starts to cool off.
Today, we are going to make the Verona Cowl, the sister pattern to my favorite hat, the Verona Beanie.
Save this post on Pinterest to come back later!

This post contains affiliate links. I receive a small commission from your purchase through these links at no additional cost to you. See our Terms of Use for more details.
Fashion Potential
I was massively pregnant when I designed this pattern, in fact, I gave birth just a week or so after it published! But I loved getting pics with this cowl, because it just looked so stunning with my wool coat (that didn’t stand a chance against that massive belly!). I’m generally a jeans and white t-shirt girl, but I can also imagine this look stunning over a long sleeve black dress with a pair of riding boots and a jean jacket. Or even with a classic leather moto-jacket, ripped jeans, and a graphic tee! There are so many ways to style this, I know it will be the perfect addition to any fall/winter wardrobe!
Not to mention a pattern pair is so GIFTABLE! I love the magical feeling of watching someone open a handcrafted gift, especially when they see something so beautiful waiting under all that tissue paper. A matching hat and cowl set is perfect for the gift-giving season right around the corner. If you start now, you will be ready in plenty of time!
Don’t forget to check out the Verona Beanie to make the matching set!

Verona Beanie
Materials
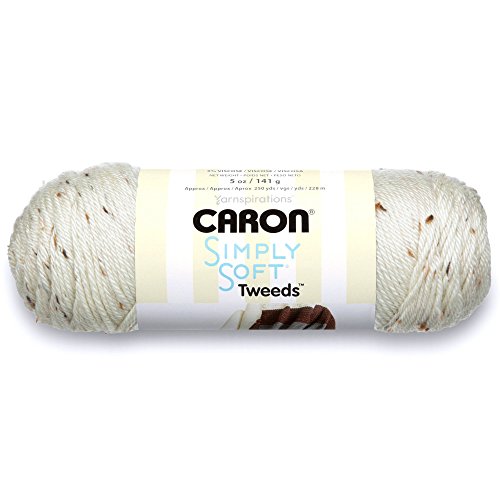
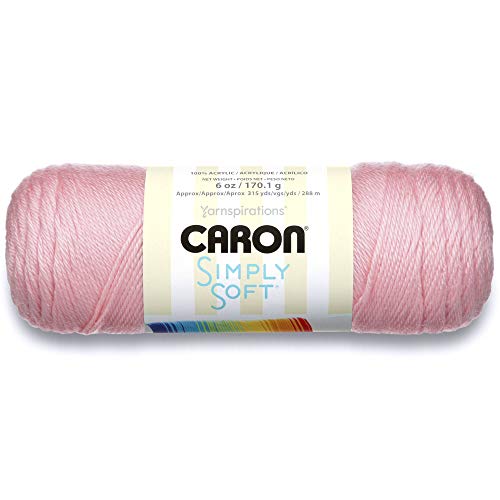
I used two different colors of yarn for my project, but obviously, you can use a single color or as many as you want! I used Caron Simply Soft Tweeds for my main color and a soft pink alpaca blend that I had in my stash, but you could simply use a pink Caron Simply Soft for the contrast color.
Of course, I used my favorite Furls crochet hook! Not sure if a Furls hook is for you? I recommend trying out their Streamline hooks first. They are light weight, smooth, and an easy shape to work with. You will have an easier time adjusting to the handle shape with the light weight and hybrid hook shape!

Shop Furls Hooks
But before we get to the pattern…
I love offering free patterns on my blog! After years of crocheting from free patterns only, I believe strongly in making them easily accessible - especially for those who need the mental health benefits of crocheting, even though they are on a tight budget. However, both patterns are available for sale in my Ravelry and Etsy shops. Purchasing patterns help support this blog and keeps the free content coming! If you are able to, I appreciate all contributions that help keep the patterns coming!

Purchase the beanie and cowl bundle!

Purchase the Beanie Pattern

Purchase the Cowl Pattern
The Pattern!!
Note: Only the adult size of the pattern is included here. For more sizes (toddler, child, youth), please see the PDF pattern listed above.
Materials:
Color A: 200-300 yds 4/worsted weight yarn
I used Caron Simply Soft Tweeds
Color B: 100 yds 4/worsted weight yarn
I used Yarn Bee Brushworks
4.5 mm hook—or hook needed to obtain gauge
Yarn Needle to weave in ends
Stitch Marker (optional)
Stitches and Terms:
Ch—Chain
Sl St—Slip Stitch
Hdc—Half Double Crochet
Dc—Double Crochet
Fpdc—Front Post Double Crochet
Bpdc—Back Post Double Crochet
Puff St—see special stitches
Diamond Trellis st—see special stitches
Ea—each
St—stitch
Specials Stitches:
Puff Stitch: See linked video tutorial here. For this pattern, puff stitches have 4 yarn overs and no chain to complete the stitch. In the puff stitch sections, the chains between puffs count as stitches and will be worked into on the next row.
Diamond Trellis Stitch: See linked video tutorial here. For this pattern, you will need to know fptr, fptr2tog, and hdc.
Row 1: Ch1, hdc in first st, sk 1 st, fptr in 2nd st, leaving ONE stitch unworked, hdc in next three st. Fptr2tog placing the first “leg” of the stitch in the same hdc as previous fptr, skip 3 st and place the second “leg” of the fptr2tog around the fourth hdc. Leave only one st unworked for the fptr2tog, hdc 3. Repeat until two st remain, fptr around the st of the last fptr2tog, hdc in last st.—You will have TWO fptr in addition to the number of fptr2tog.
Row 2: Ch 1, Hdc in each st.
Row 3: Ch1, hdc 3, fptr2tog placing the first leg around the first fptr of Row 1 and the second around the first fptr2tog of Row 1. Leave only one stitch unworked, hdc in next three st, fptr2tog placing first leg around the last fptr2tog of Row 1 and the second leg around the next fptr2tog of Row 1. Continue to end of row, hdc in last three st.
Row 4: Ch 1, hdc in ea st.

Another easy cowl!
Notes:
This pattern is written in rows. Turns are assumed at the end of each row, not written. Please turn at the end of each row.
Ch 1 or ch 2 at the beginnings of rows does not count toward the final stitch count.
After all rows are completed, the two short ends are seamed together using slip stitch to form the infinity cowl.
The pattern is written in a 4 st repeat, plus 2. You can adjust the length of the cowl as needed by increasing the number of foundation stitches by 4.
Pattern:
In Color A
Row 1: Ch 99, hdc in second chain from hook and in each chain. OR Foundation hdc 98. (98 hdc)
Row 2-7: Ch 1, hdc in first two st, *fpdc in next two st, bpdc in next two st* repeat until two st remain, hdc in last two st. (4 hdc, 48 fpdc, 46 bpdc)
Row 8: Ch 1, hdc in ea st. (98 hdc) Switch to Color B
Row 9: Ch 2, dc in next two st, puff st in next st, *ch 1, sk 1, puff st in next st,* repeat until two st remain, dc in last two st. (4 dc, 47 puff st)
Row 10: Ch 2, dc in next two st, *ch 1, sk puff st, puff st in next ch 1 sp, * repeat until one puff st and two dc remain, ch 1, sk puff st, dc in next two dc. (4 dc, 47 puff st)
Row 11: Ch 2, dc in first two st, puff st in next ch 1 sp, *ch 1, sk puff st, puff st in next ch 1 sp,* repeat until 2 st remain, dc in last two st. Switch to Color A
Row 12: Ch 1, hdc in next two dc, hdc in ea ch and ea puff st, hdc in last two dc. (98 hdc)
Row 13: Begin Diamond Trellis Stitch. See the notes for video tutorial, written instructions, and a stitch chart to illustrate the stitch repeat. Ch1, hdc in first st, sk 1 st, fptr in 2nd st, leaving ONE stitch unworked, hdc in next three st. Fptr2tog placing the first “leg” of the stitch in the same hdc as previous fptr, skip 3 st and place the second “leg” of the fptr2tog around the fourth hdc. Leave only one st unworked for the fptr2tog, hdc 3. Repeat until two st remain, fptr around the st of the last fptr2tog, hdc in last st.—You will have TWO fptr in addition to the number of fptr2tog. (23 fptr2tog, fptr)
Row 14: Ch 1, hdc in ea st. (98 hdc)
Row 15: Ch1, hdc 3, fptr2tog placing the first leg around the first fptr of Row 1 and the second around the first fptr2tog of Row 1. Leave only one stitch unworked, hdc in next three st, fptr2tog placing first leg around the last fptr2tog of Row 1 and the second leg around the next fptr2tog of Row 1. Continue to end of row, hdc in last three st. (23 fptr2tog, 2 fptr)
Row 16: Repeat row 12. (98 hdc)
Row 17-20: Repeat rows 13-16. Switch to Color B.
Row 21-23: Repeat rows 9-11. Switch to Color A.
Row 24: Ch 1, hdc in ea st. (98 hdc)
Row 25-30: Repeat rows 2-7. (4 hdc, 47 fpdc, 47 bpdc). Fasten off, with right sides facing, seam up the two short sides. Weave in ends.
Don’t forget to save the pattern to your favorite Pinterest board or share with your Facebook crochet community!

The Verona Cowl is written by Rebekah Haas. I hold the copyright to this pattern. It should not be published, shared, or sold without direct permission of the designer. You are, of course, welcome to sell any items you make using this pattern. If you post pictures of your item on Instagram or Facebook, please credit me with the design by linking to my Instagram account or website. Thank you for choosing to make my pattern! I hope it inspires you!


