

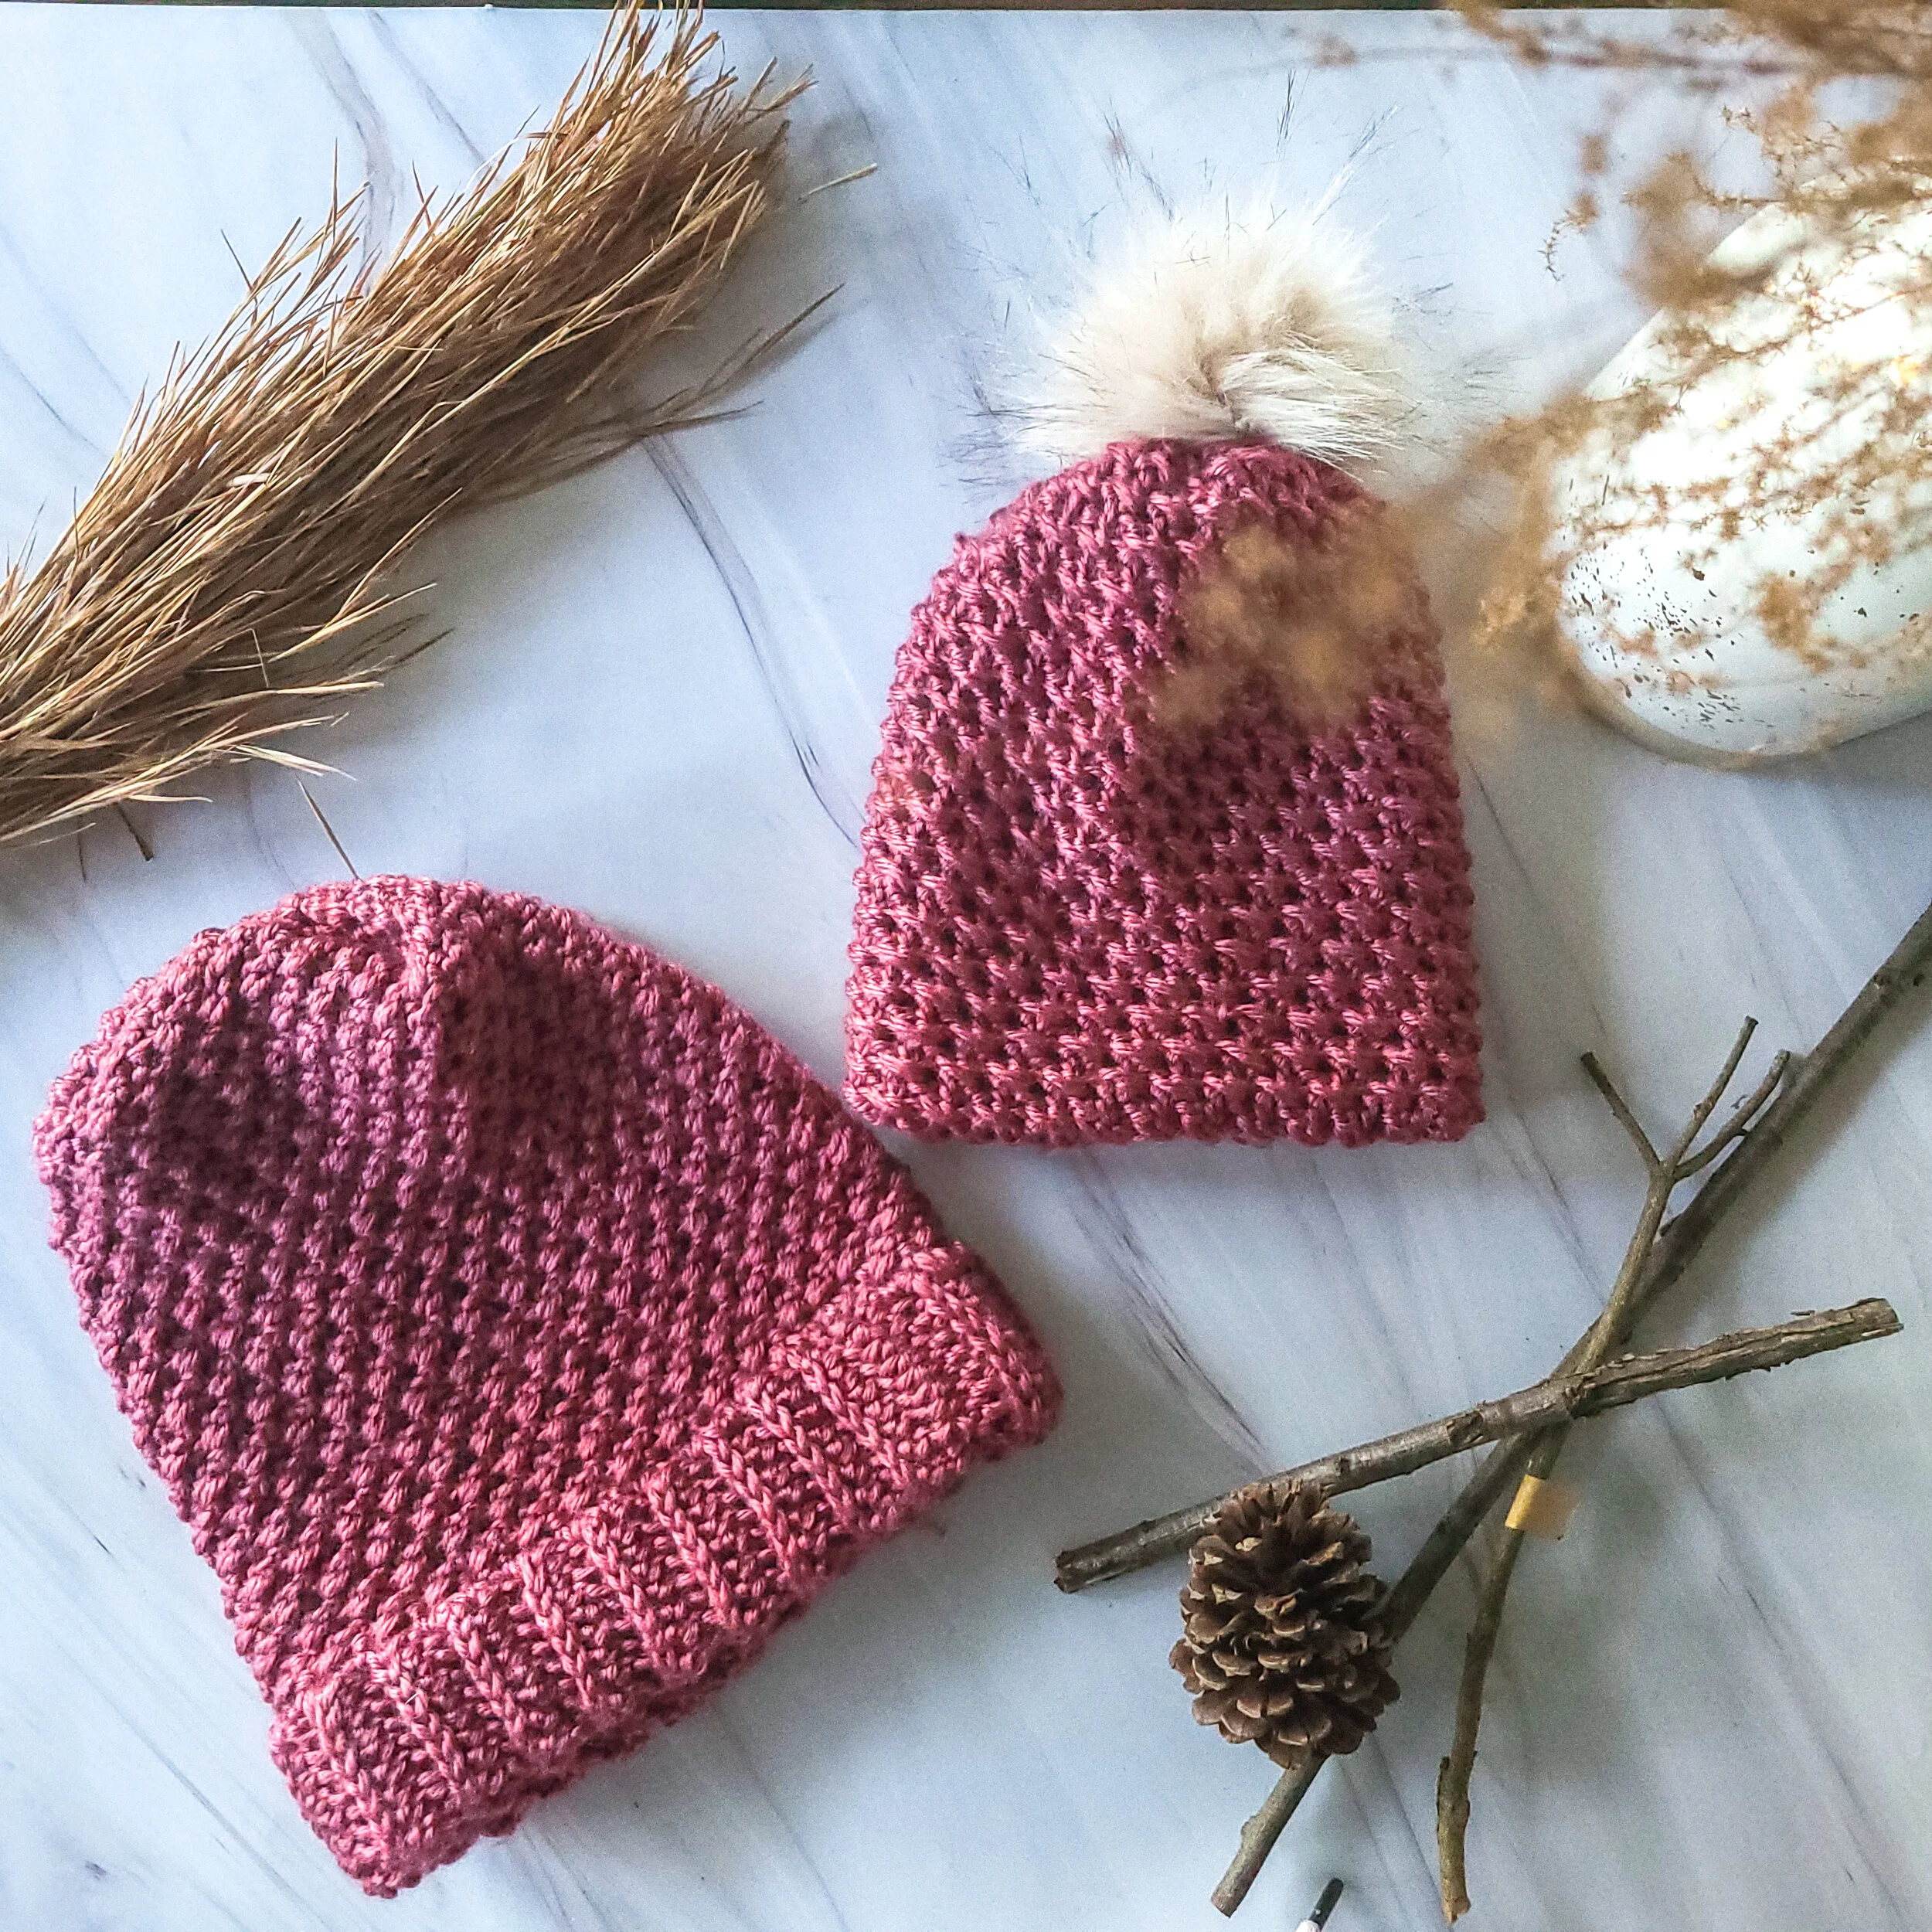
Pebbles Beanie: A Free Crochet Pattern
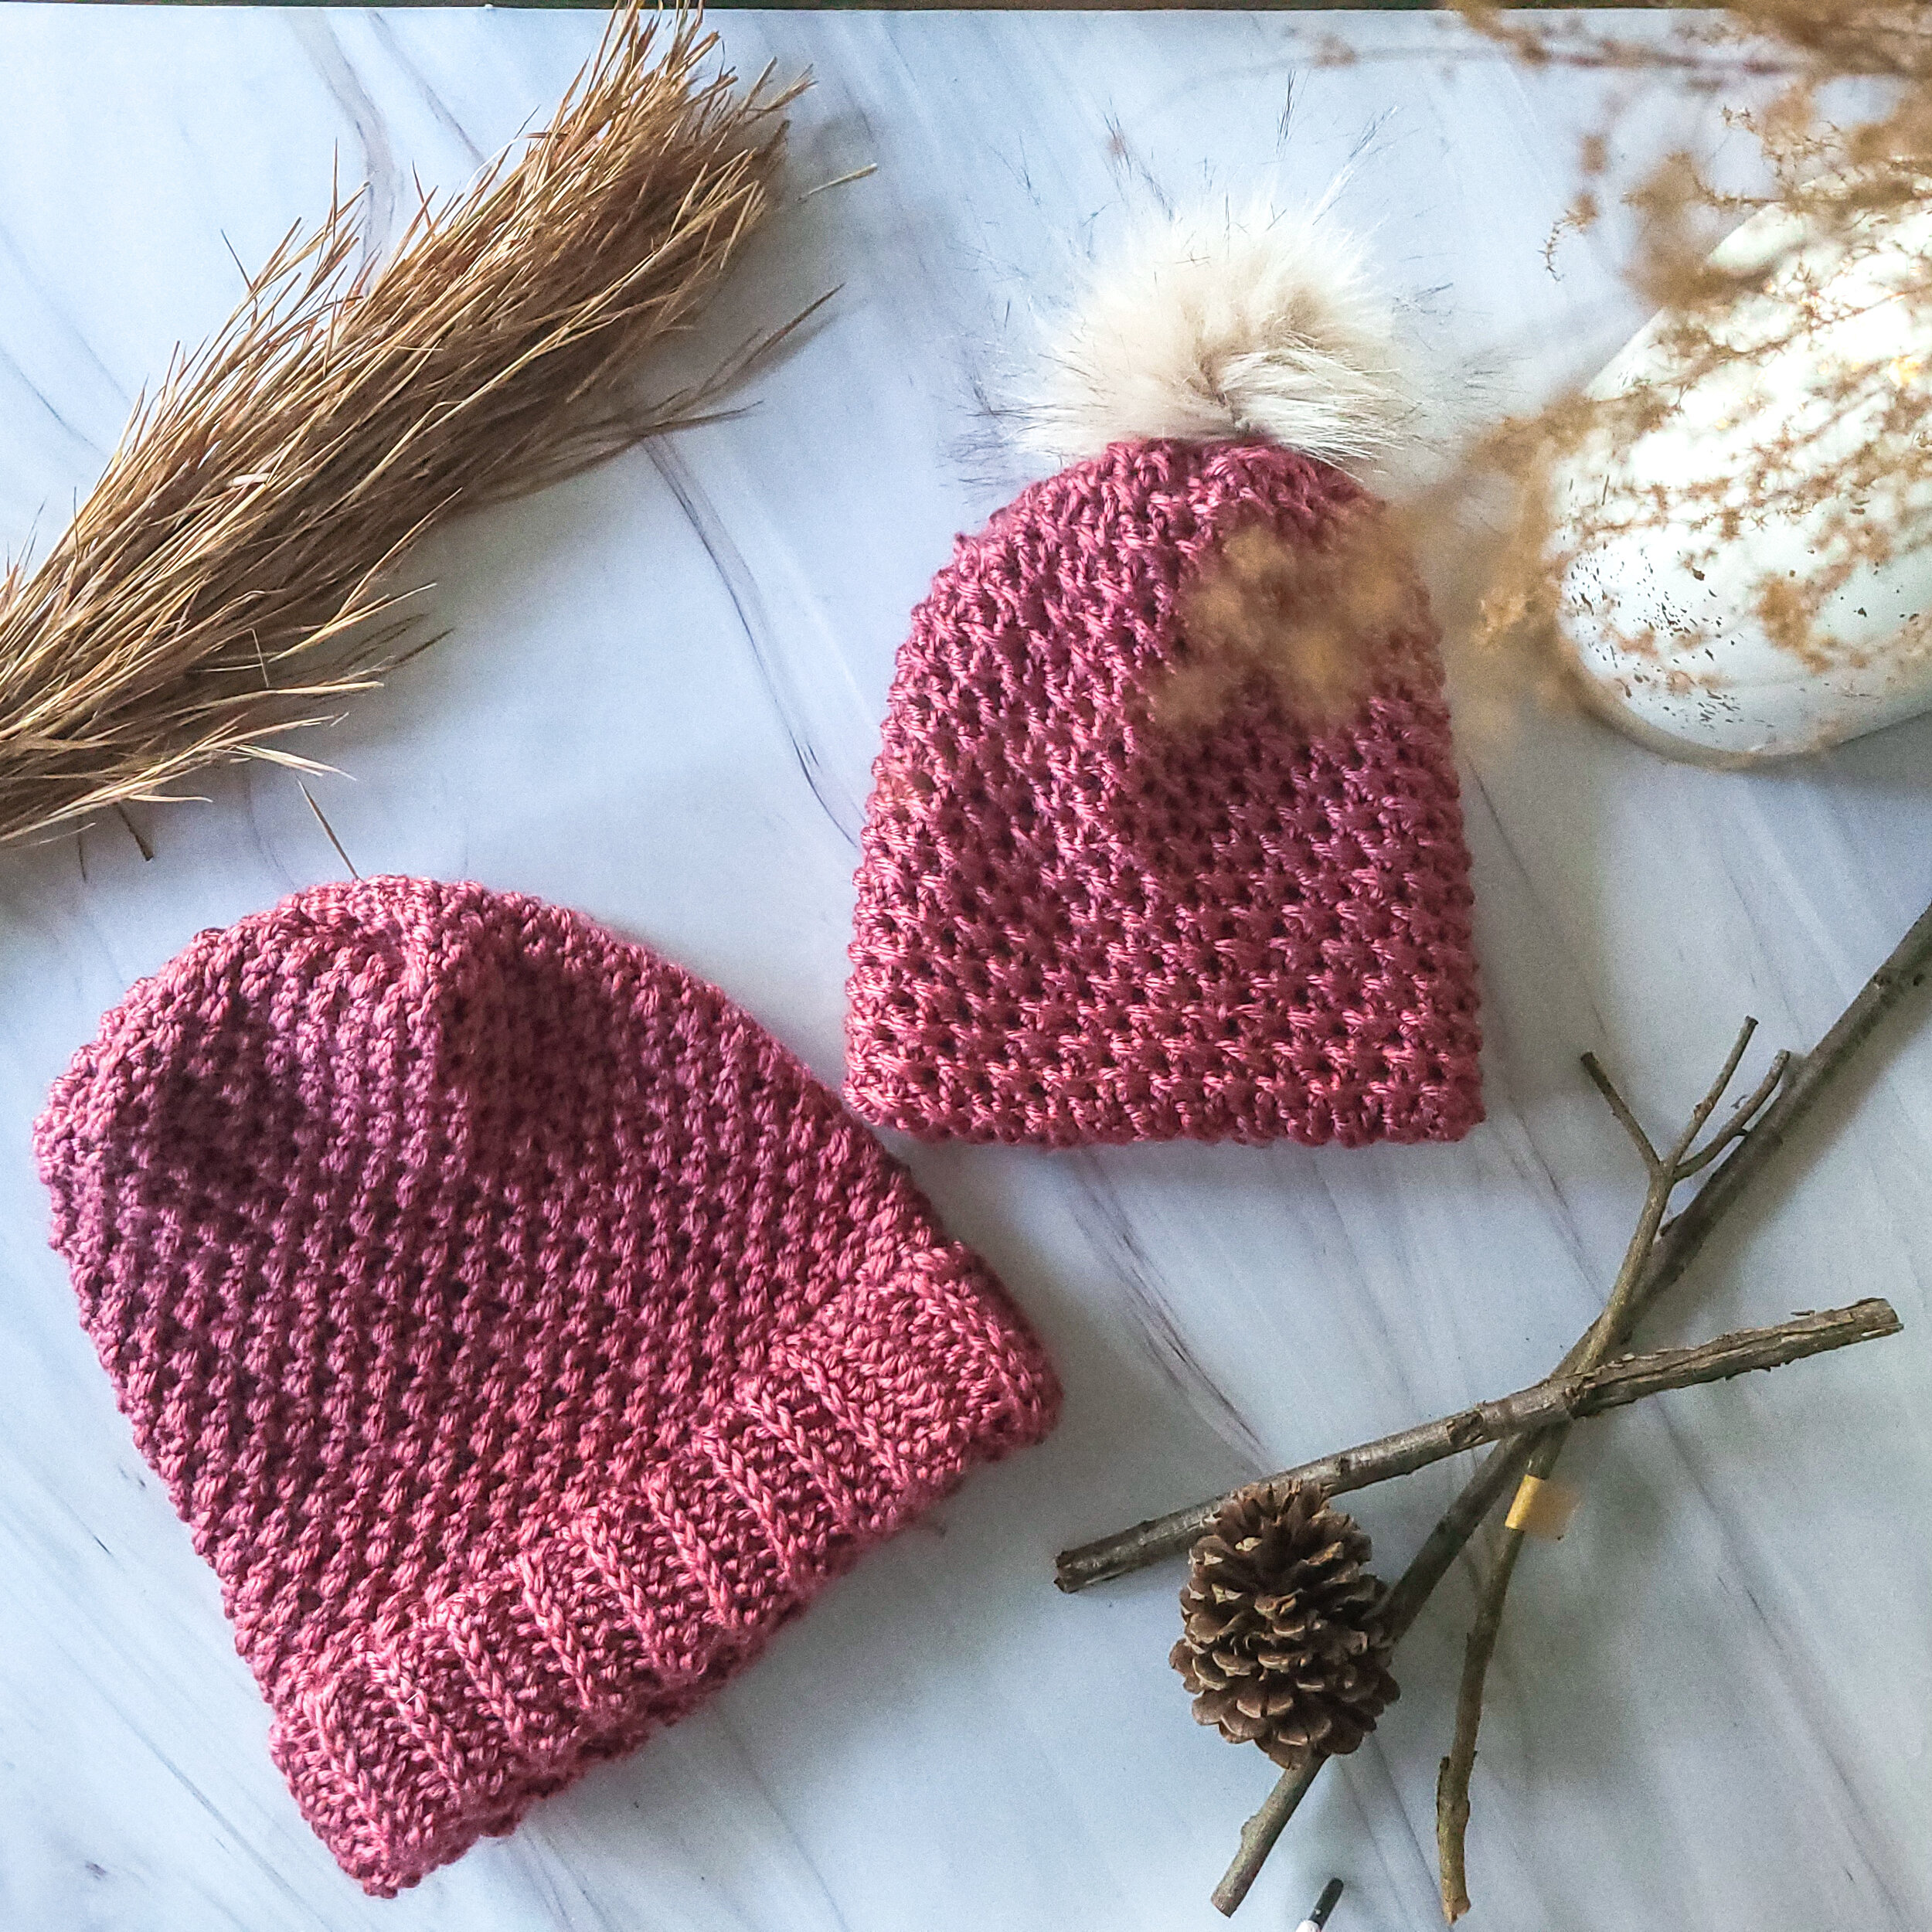
Sometimes a pattern just flows off your hook, the yarn itself providing all the inspiration needed. This is one of those times. I absolutely adore the pebbly texture this stitch created. It reminds me of picking up a small handful of pebbles out of the quick flowing waters in the national parks of the Blue Ridge Mountains.
Save this pattern to your favorite Pinterest board!
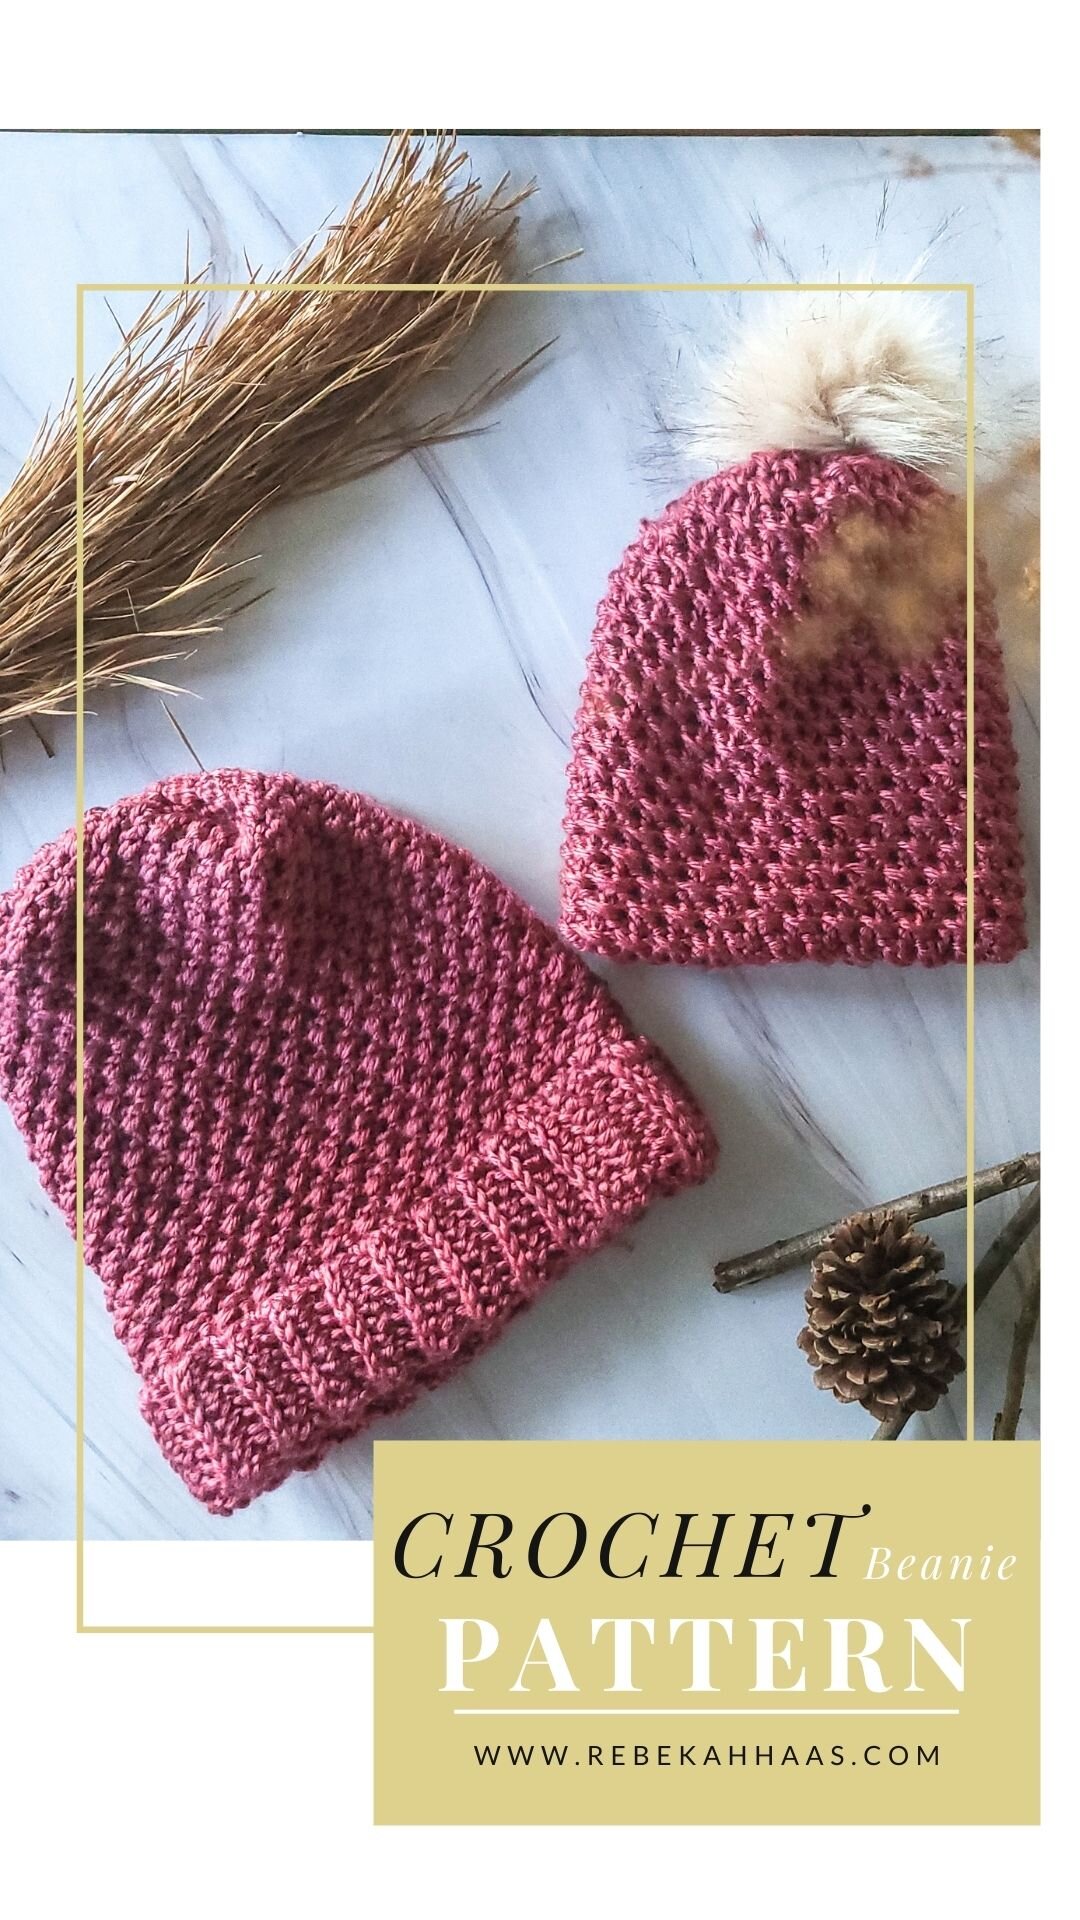
Free Crochet Beanie Pattern Gender Neutral for men or women, size inclusive
This post contains affiliate links. I receive a small commission from your purchase through these links at no additional cost to you. Please see my Terms of Use for more details.
About the Yarn
I used the Furls Wander yarn for this pattern. Wander is a 100% acrylic yarn in worsted weight. Since this high quality acrylic yarn is much softer than many budget acrylic yarns, it also pills a little faster. I recommend this yarn for mid to low use accessories or garments, but I don’t know how well it would hold up long term in a baby blanket that needs frequent washings. The short fibers in this acrylic make it soft and supple, but it loses some stitch definition to the halo caused as those short fibers fray a little while working. If you are looking for a soft acrylic yarn to replace wool in your stash, I feel like this acrylic is a good option. It behaves similarly to wool, but is perfect for those who are vegan or are allergic to wool or lanolin.
Shop Wander Yarn

Shop Wander
About the Hook
I chose to use a 5.5 mm crochet hook to make the Pebbles beanie. I wanted the fabric to be dense and warm, without the big holes that come from using a large hook. In fact, if you make the hat to measure, you could opt for a smaller hook size for even tighter stitches and denser fabric. While I own a variety of hooks, I tend to fall back on my Furls Odyssey when I’m making a comfort project. I had originally intended to make a bigger design for this blog hop, but life got messy, as it sometimes does, and this beanie just felt right while I processed my grief. However, the Odyssey hooks are a little heavy, so if the weight might be an issue for you, I definitely recommend the streamlines.

Shop Furls
Other Supplies
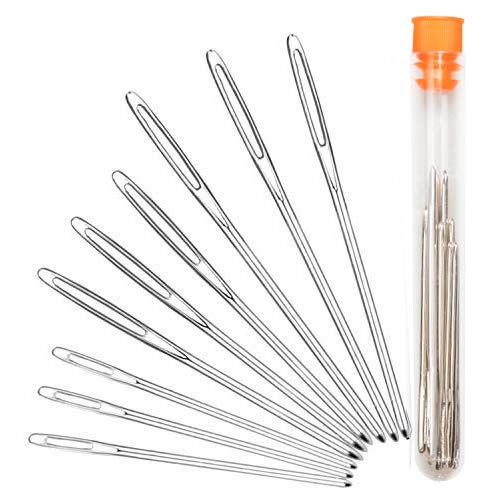
I used a yarn needle and a pom pom to finish off my beanies. I often buy my pom poms on Amazon to save money, but they are definitely smaller and not as fluffy as the handmade ones on Etsy.

Pattern Help
If you struggle with reading patterns or visualizing them, please check out the YouTube video to help you make the pebbles beanie:
Furls Blog Hop 2021
I’m thrilled to be a part of the Furls 2021 blog hop! Before you head to snag the pattern, go check out all the other free patterns that have been featured in the blog hop this year. You will find 52 total free patterns as a part of the blog hop using the button below!
PDF pattern
Click to purchase the pattern on Ravelry or scroll for the free pattern.
The Pattern
Pebbles beanie
Materials
400 yards of worsted weight yarn
I used 1.5 skeins of Furls Wander
*amount of yarn needed will vary depending on the size you make
5.5 mm hook
Yarn needle
Optional: pom pom
Gauge:
Brim: 5 rows x 10 sts = 2” in hdc in blo
Hat: 6 rows x 5 sts=2” in pattern stitch worked in the round
Stitches and Terms (U.S. Terms):
Ch: Chain
BLO: back loop only
Dc: double crochet
Fsc: Foundation Single Crochet
Hdc: Half Double Crochet
Sc: Single Crochet
Sl st: Slip Stitch
Sk: skip
Notes:
The pattern is worked in two styles. Style A features a double thickness brim and a single thickness hat. Style B features a brimless design, but double thickness hat.
The brim is worked in rows. The hat is worked in continuous rounds.
The hat is made to measure. You can either measure your own head or use the head measurement chart you can download here.
Style A:
Row 1: Ch 15, hdc in 2nd ch from hook and in each ch across. (14 hdc)
Row 2: Ch 1, turn, working in BLO, sc in each st across.
Repeat Row 2 until your brim measures your head circumference. Make sure you have an even number of rows.
Fold the brim in half so the short sides are together and sl st the two short ends together.
Fold the brim in half so the long sides are together. Working through both sides, sc the sides of each stitch to create the double thickness brim. Join with a sl st to first sc.
Round 1: ch 2 (doesn't count as a stitch), sk first sc, sc in next stitch, dc in the skipped sc, *sk 1 sc, sc in next sc, dc in skipped sc* repeat around. Do not join, but continue to round 2.
Round 2: *sk dc, sc in next sc, dc in skipped dc* repeat to end. Do not join.
Repeat row 2 until your hat reaches the desired height. Fasten off and leave a long tail for sewing. Remember, the first couple rows may not look like the bump in the pattern is staggered, but as you work up the hat, the stitches will naturally shift to create the staggered look.
Close up the hat using the x method as shown in the YouTube video, or using your preferred method. Fasten off, weave in all ends.
Style B:
Leaving a long tail, Fsc until your beginning row fits around the head with extra room (note, the hat will shrink up a little, so give an extra inch or so). Join with sl st to first sc.
Round 1: ch 2 (doesn't count as a stitch), sk first sc, sc in next stitch, dc in the skipped sc, *sk 1 sc, sc in next sc, dc in skipped sc* repeat around. Do not join, but continue to round 2.
Round 2: *sk 1 st, sc in next st, dc in skipped st* repeat to end. Do not join.
Repeat Round 2 until the hat is 2x the hat height. Fasten off and leave a long tail for sewing.
Tug both ends to stretch out the stitches.
Use a running stitch to close up the top of the hat, but don't pull it tight yet.
Use a running stitch to close up the bottom of the hat. Fold the hat so the bottom is tucked inside the top. Thread the tail from the bottom through the cinched top.
Pull both tails tight and tie them together firmly. Weave in all the ends.
Add pom pom as desired.


