


Valle Crucis Cocoon Cardigan Crochet Pattern
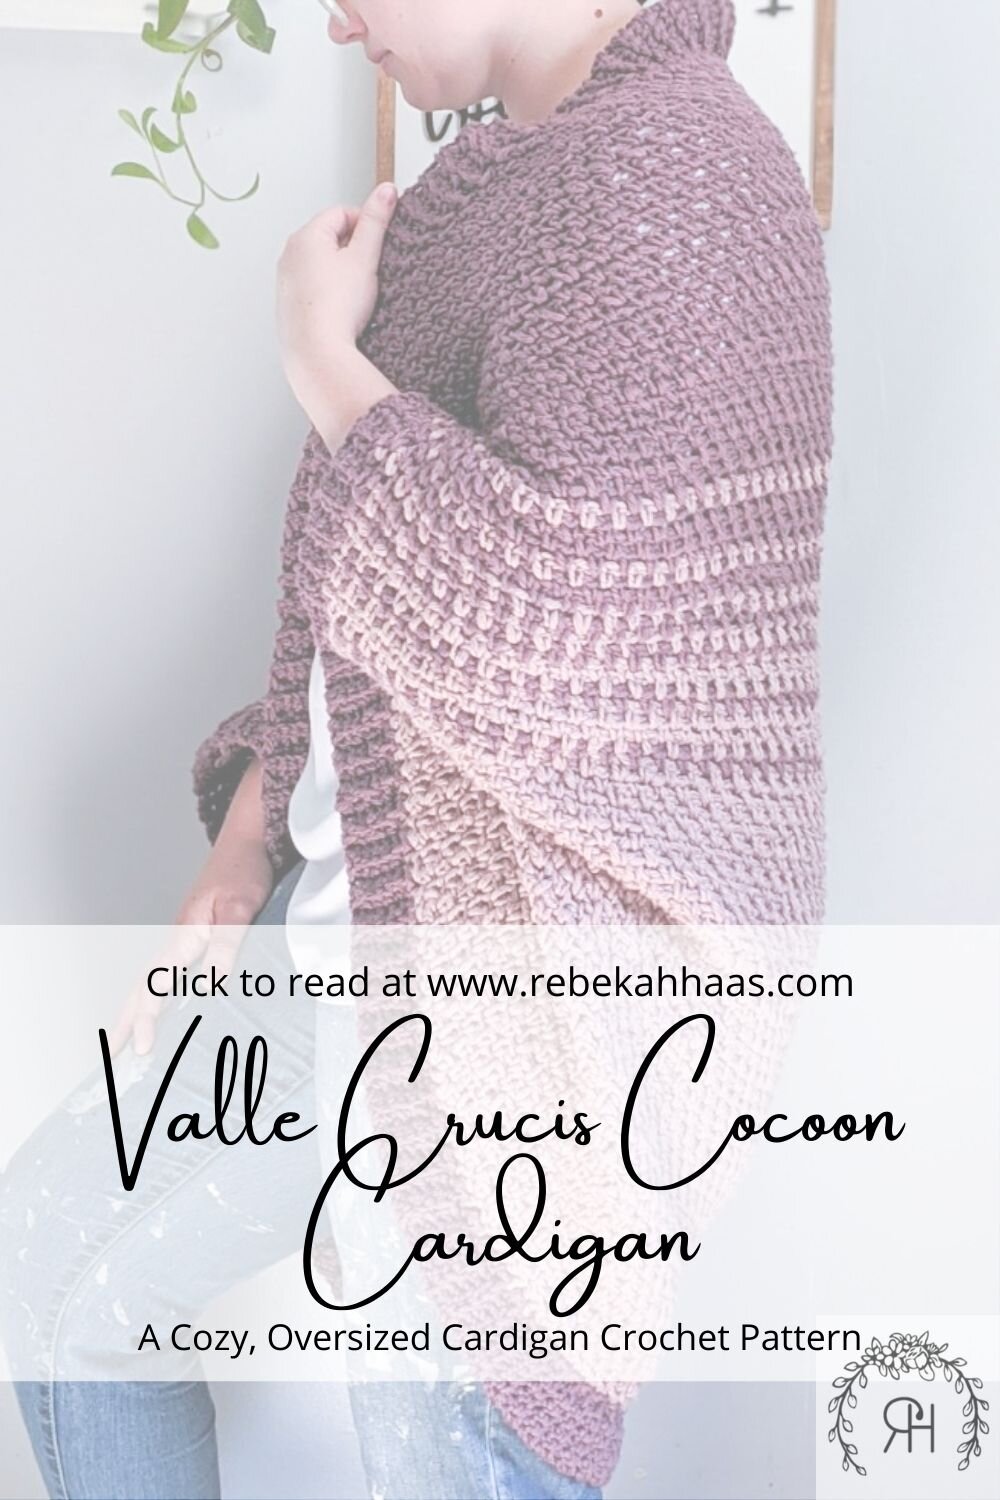
Nothing beats a cardigan that is basically a portable blanket. The Valle Crucis Cocoon Cardigan works up quickly, using bulky weight cotton yarn and a large hook size. The Moss Stitch creates a knit-like effect and gentle drape. This cozy cocoon is made in a single panel, then seamed into a cardigan. The ribbed edging is added after the seaming for a professional finish.
Pin this pattern to save it and come back later!
And don’t forget to follow me on Pinterest while you are there!
Oversized cocoon cardigan crochet pattern: Get ready for fall with this cozy, bulky crochet cocoon cardigan! #crochetpattern #crochetfashion #fallfashion
This post contains affiliate links. I receive a small commission from your purchase through these links at no additional cost to you. See more in our Terms of Use.
Fashion potential
I’ve been wearing my Valle Crucis Cocoon Cardigan non-stop these days! I wear it over my leggings and tshirt on my morning stumble to the coffee pot, with my jeans and short sleeved turtleneck to run errands around town, or even over a dress to go on a date with my husband (ok, run more errands, but grab burgers while we are at it)! The Valle Crucis Cocoon Cardi crochet pattern has endless fashion opportunities, I can’t wait to try it with a skirt and boots, or boots and jeans (also, I really love wearing boots, ok?).

Materials
Making an oversized garment can be a bit intimidating for a beginner crocheter, so when I planned out this pattern, I wanted to take the stress out of the garment making as much as possible. I started by picking a bulky/5 weight yarn. Bulky yarn works up much faster than worsted or dk yarns. However, I often find that bulky yarn lacks the delicate drape that is achieved with lighter weight yarns, so I selected a cotton yarn. The We Crochet Billow yarn is 100% cotton - the softest pima cotton imaginable! It works up like a dream with little to no splitting. The drape on this garment is stunning and I love it sooo much! The cotton yarn also makes this a lighter sweater for those of us who tend to have warmer fall weather. Summer lasts a loooooong time in the south!

Purchase Billow Yarn
Sizing
The Valle Crucis Crochet Cardigan is available in two different size ranges. The crochet pattern is available in sizes S/M, L/XL, 2XL/3XL adult sizes as well as 2/4, 6/8, 10/12, 14/16 kids sizes. Both patterns are available on Ravelry and Etsy. You can purchase each pattern for $5.00 individually, but if you would like to purchase both patterns, you can do so for the discounted rate of $7.50 for the set. Continue scrolling for the free pattern here on the blog. If you use the blog pattern, please remain on the website instead of screenshotting the pattern. Having my website open while you work the pattern is a small way to help pay for the expenses of keeping the website running.

Find me on Ravelry
I hope you love it as much as I do!!!
The Valle Crucis Cocoon Cardigan Pattern
Materials:
260-600 yds Bulky/5 Weight Yarn Color A
I used We Crochet Billow in Ice Lily
260-600 yds Bulky/5 Weight Yarn Color B
I used We Crochet Billow in Comfrey
10 mm hook
Yarn Needle
Stitches and Terms:
Ch—Chain
Sc—Single Crochet
Sl St—Slip Stitch
Fsc: Foundation Single Crochet
Gauge:
8 st x 8 rows = 4”
Gauge is worked in moss stitch. This stitch can have quite a bit of stretch to it.
Notes:
U.S. Terms
Starting chain does not count in this pattern.
This pattern can be made to any length simply by adding more rows in either Color A or Color B.
The pattern is written in rows. Please turn at the end of each row.
Starting Ch 3 counts as one stitch.
Pattern is written in S/M, L/XL, 2XL/3XL
Finished dimensions: S/M: 38” x 38” L/XL: 46” x 46” 2XL/3XL: 54” X 54”
Small/Medium
Row 1: Color A, FSC 76 (76 stitches)
Row 2: Ch 3, sk first sc, *sc in next sc, ch 1, sk 1, sc in next sc. * Repeat to end.
Row 3: Ch 3, sk first sc, *sc in next ch, ch 1, sk 1, sc in next ch,* repeat to end.
Row 4 -37: Repeat row 3.
Row 38: Colow B, Repeat row 3.
Row 39 - 41: Color A, Repeat row 3.
Row 42: Color B, Repeat row 3.
Row 43 - 44: Color A, Repeat row 3.
Row 45: Color B, Repeat row 3.
Row 46: Color A, Repeat row 3.
Row 47: Color B, Repeat row 3.
Row 48: Color A, Repeat row 3.
Row 49 - 50: Color B, Repeat row 3.
Row 51: Color A, Repeat row 3.
Row 52 - 54: Color B, Repeat row 3.
Row 55: Color A, Repeat row 3.
Row 56 - 76: Color B, Repeat row 3. Continue to Seaming.
Size Large/XLarge
Row 1: Color A, FSC 92
Row 2: Ch 3, sk first sc, *sc in next sc, ch 1, sk 1, sc in next sc. * Repeat to end.
Row 3: Ch 3, sk first sc, *sc in next ch, ch 1, sk 1, sc in next ch,* repeat to end.
Row 4 - 45: Repeat row 3.
Row 46: Color B, Repeat row 3.
Row 47 - 49: Color A, Repeat row 3.
Row 50: Color B, Repeat row 3.
Row 51 - 52: Color A, Repeat row 3.
Row 53: Color B, Repeat row 3.
Row 54: Color A, Repeat row 3.
Row 55: Color B, Repeat row 3.
Row 56: Color A, Repeat row 3.
Row 57 - 58: Color B, Repeat row 3.
Row 59: Color A, Repeat row 3.
Row 60 - 62: Color B, Repeat row 3.
Row 63: Color A, Repeat row 3.
Row 64 - 92: Color B, Repeat row 3. Continue to Seaming.
Size 2XL/3XL
Row 1: Color A, FSC 108
Row 2: Ch 3, sk first sc, *sc in next sc, ch 1, sk 1, sc in next sc. * Repeat to end.
Row 3: Ch 3, sk first sc, *sc in next ch, ch 1, sk 1, sc in next ch,* repeat to end.
Row 4 - 45: Repeat row 3.
Row 46: Color B, Repeat row 3.
Row 47 - 49: Color A, Repeat row 3.
Row 50: Color B, Repeat row 3.
Row 51 - 52: Color A, Repeat row 3.
Row 53: Color B, Repeat row 3.
Row 54: Color A, Repeat row 3.
Row 55: Color B, Repeat row 3.
Row 56: Color A, Repeat row 3.
Row 57 - 58: Color B, Repeat row 3.
Row 59: Color A, Repeat row 3.
Row 60 - 62: Color B, Repeat row 3.
Row 63: Color A, Repeat row 3.
Row 64 - 92: Color B, Repeat row 3. Continue to Seaming.
Seaming
Fold the sides together like a paper airplane.
Seam from where the corners meet toward the center fold, leaving 6” unseamed.
Fasten off and weave in ends.

Seaming details
Sleeve Ribbing
Note: If your ribbing seems loose or floppy, either try tightening up your stitches, or go down to an 8 mm hook for a more fitted ribbing.
Using Color B, pick up a loop where the seam for the sleeve stops.
Ch 7
Row 1: Sc in second ch from hook and in next 5. Sl st in next two stitches of the sleeve.
Row 2: Working in the sc of row 1, sc blo in each, ch 1, turn, sc in blo of the six sc you just made. Sl st in the next two stitches of the sleeve.
Repeat Row 2 until you have worked in each stitch you left unseamed.
Sl St the last row of ribbing and the first row of ribbing together. Fasten off and weave in ends.
Body Ribbing
Using Color B, pick up a loop in the bottom center of the cardi. Follow the same instructions as the sleeve ribbing until you have worked all the way around.
Fasten off, weave in all ends.


If you made it this far, please consider supporting my patterns and website by purchasing a sticker! Each sticker is designed by one of my sisters! No AI or stolen art here.

Support our sticker store!
Please don’t forget to share this pattern to your Pinterest boards or on Facebook! If you share a picture of your finished pattern, please share it with me on Instagram or Facebook! I’d love to share it with all the other makers in our fun crochet family!

This pattern is written by Rebekah Haas. I hold the copyright to this pattern. It should not be published, shared, or sold without direct permission of the designer. You are, of course, welcome to sell any items you make using this pattern. If you post pictures of your item on Instagram or Facebook, please credit me with the design by linking to my Instagram account or website. Thank you for choosing to make my pattern! I hope it inspires you!


